Purpose Statement
This article explains how to review, approve, reject, or manage permit requests submitted through Community Connect. It ensures agencies can efficiently process incoming permits, maintain accurate records, and communicate decisions to applicants.
Background Information
Community Connect users can submit permit requests directly to your agency. These permits require internal review to verify details such as occupancy, ownership, and compliance with agency standards.
There are two primary ways to access and review submitted permits:
- Through the Permits Module within the platform
- Via a direct email link generated by the system
Proper handling of permit requests helps streamline approvals, ensures compliance with SOPs/SOGs, and keeps applicants informed through automated notifications.
Required Permissions
Users will need the following permissions:
- Permits Module Access
- View Permits
- Edit Permits
- Approve/Reject Permits
Note: Permission names may vary slightly depending on agency configuration.
Video
Step-by-Step Guide
Method 1: Reviewing Permits via the Permits Module
1. Navigate to Permits Module > Permits
2. Expand the Filters Panel, set Status to Submitted, and click Apply
3. Locate the desired permit by address or listing and click the Pencil (Edit) Icon under the Actions column
4. Review the permit details:
- Occupancy
- Contacts
- Review (Attachments from Community Connect User)
- Submitted Questions
-
Permit History
5. Choose an action:
- Approve
- Reject
- Close
- (Optional) Link related permits based on agency SOPs/SOGs
Approving a Permit
- Click Approve
- In the approval modal:
- Confirm or update Approved By
- Set Effective Date
- Define Duration or select Valid Until Revoked
- Add Comments if needed
- Click Submit
Result:
The Community Connect user will receive an automated email notification. Depending on system configuration, the approved permit may also be included.
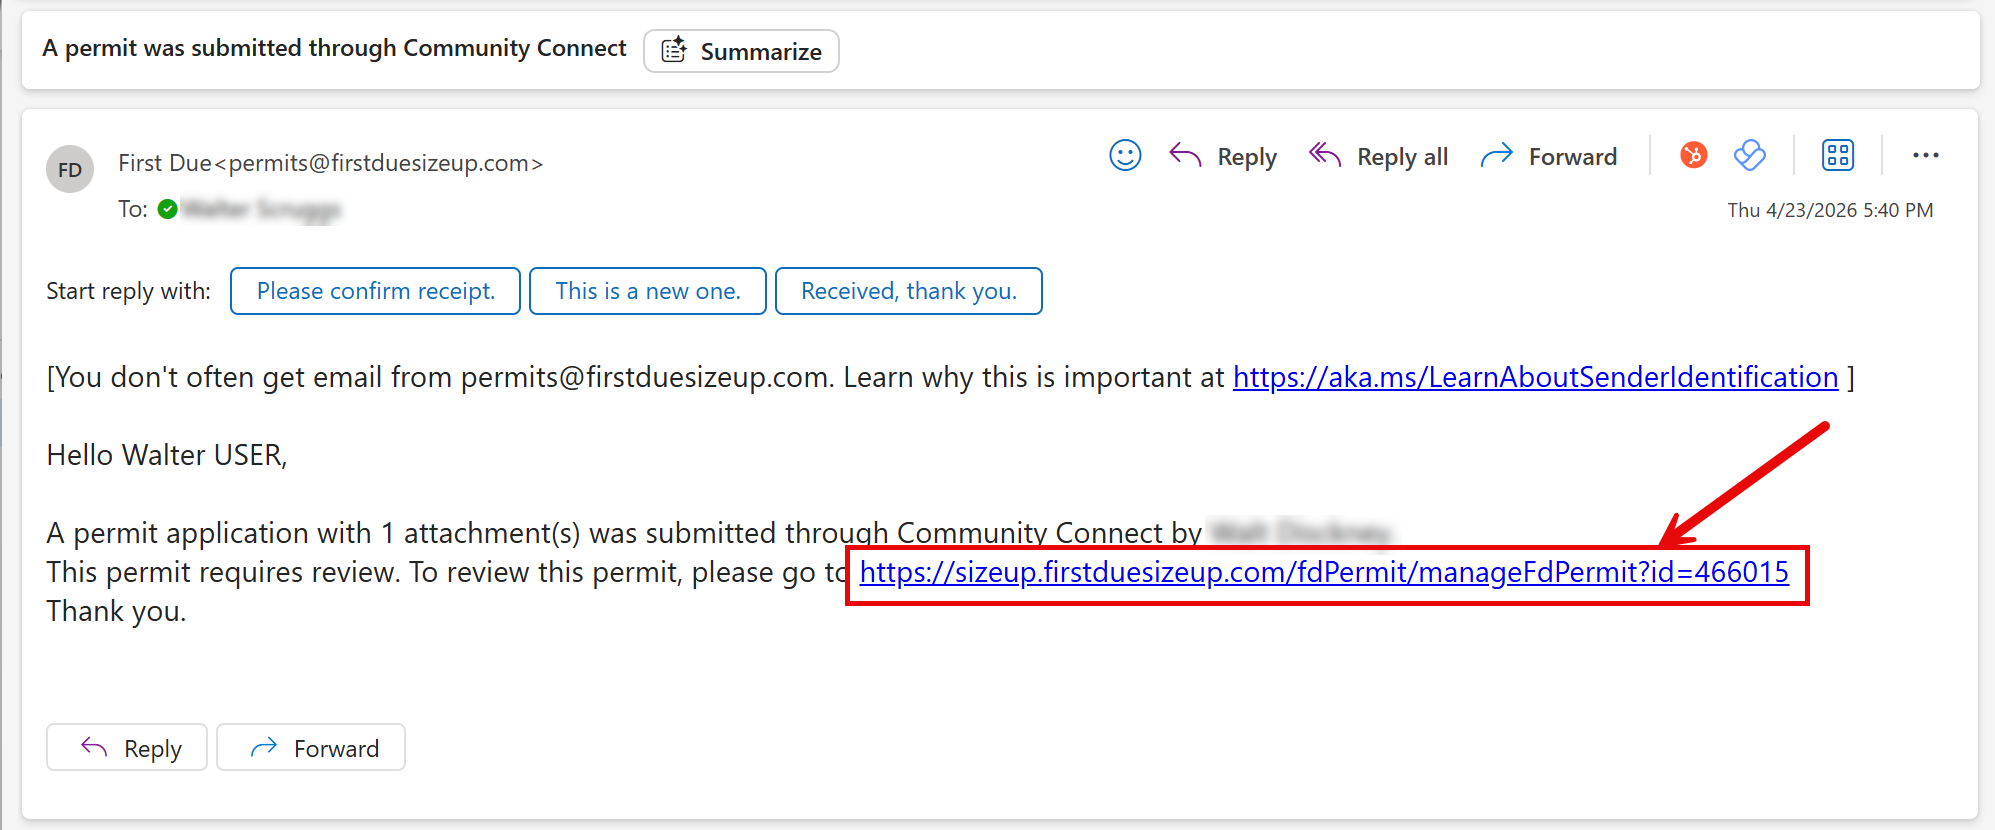
Method 2: Reviewing Permits via Email
- Open the email notification (sent from:
- permits@firstdue.com or
- Your agency’s configured email address)
- Click the link within the email
- You will be directed straight into the permit record
- Review permit details (See Above)
- Select an action: (See Above)
- Approve
- Reject
- Close
Result:
The Community Connect user will receive an automated email notification. Depending on system configuration, the approved permit may also be included.
Best Practices
- Always verify occupancy and ownership details before approving
- Review all submitted questions thoroughly for compliance
- Add clear comments when approving or rejecting for audit clarity
- Follow agency SOPs/SOGs when linking permits
- Use filters consistently to avoid missing submitted permits
Troubleshooting & FAQs
Q: I don’t see any submitted permits
A: Ensure the Status filter is set to “Submitted” and filters are applied correctly.
Q: I can’t edit or approve a permit
A: Verify your user role has the required permissions (Edit/Approve Permits).
Q: The applicant didn’t receive a notification
A: Confirm email settings in the Permits Module and verify the applicant’s email address.
Q: The email link isn’t working
A: Ensure you are logged into the system and try reopening the link from the email.