Permit Request from the Community Connect Portal
Purpose Statement
This article demonstrates the workflow process for handling permit requests submitted through the Community Connect Portal. The process enables Fire/EMS departments to efficiently review, process, and respond to community-submitted permit applications while maintaining proper documentation and communication with requesters.
Background Information
The Community Connect Portal allows community members to submit permit requests directly to your department, streamlining the application process and reducing administrative overhead. When permits are submitted through the portal, they appear in your system with "Submitted" status and require review and processing by authorized personnel. This feature supports both residential and commercial permit types and integrates with your department's existing workflow processes.
Required Permissions
To complete this workflow, users need:
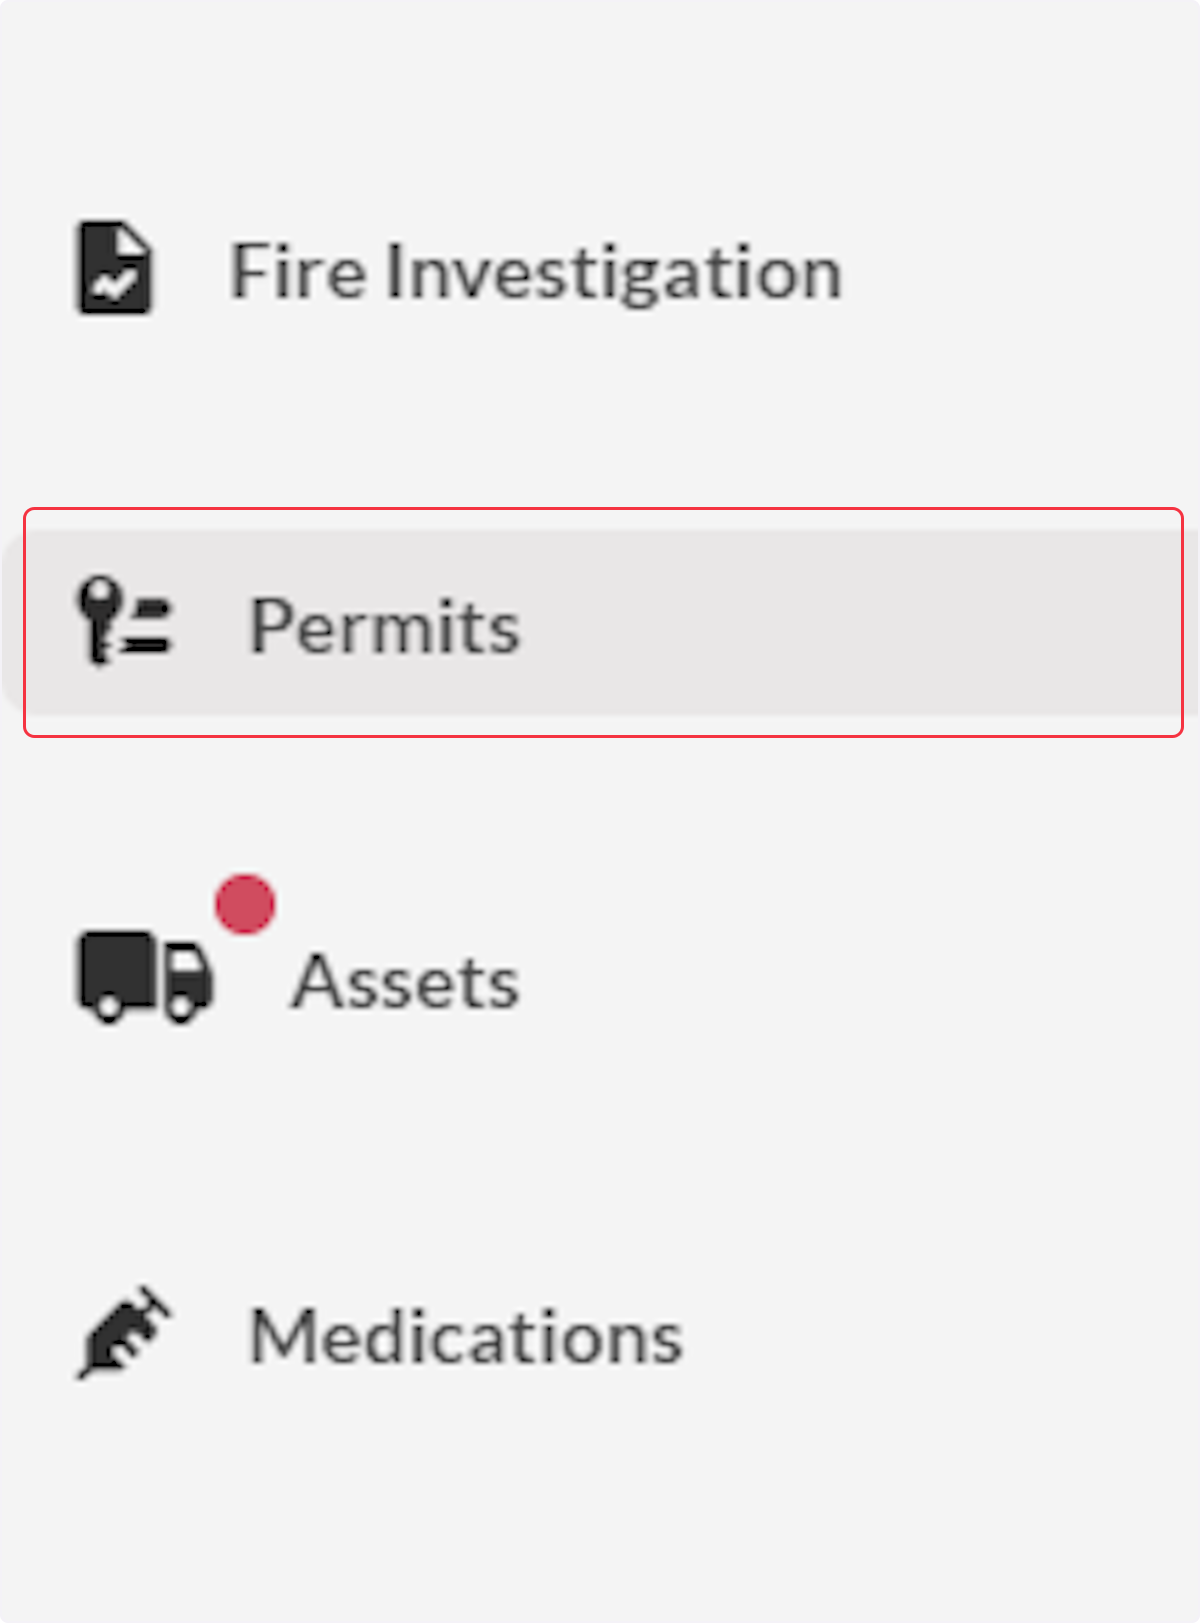
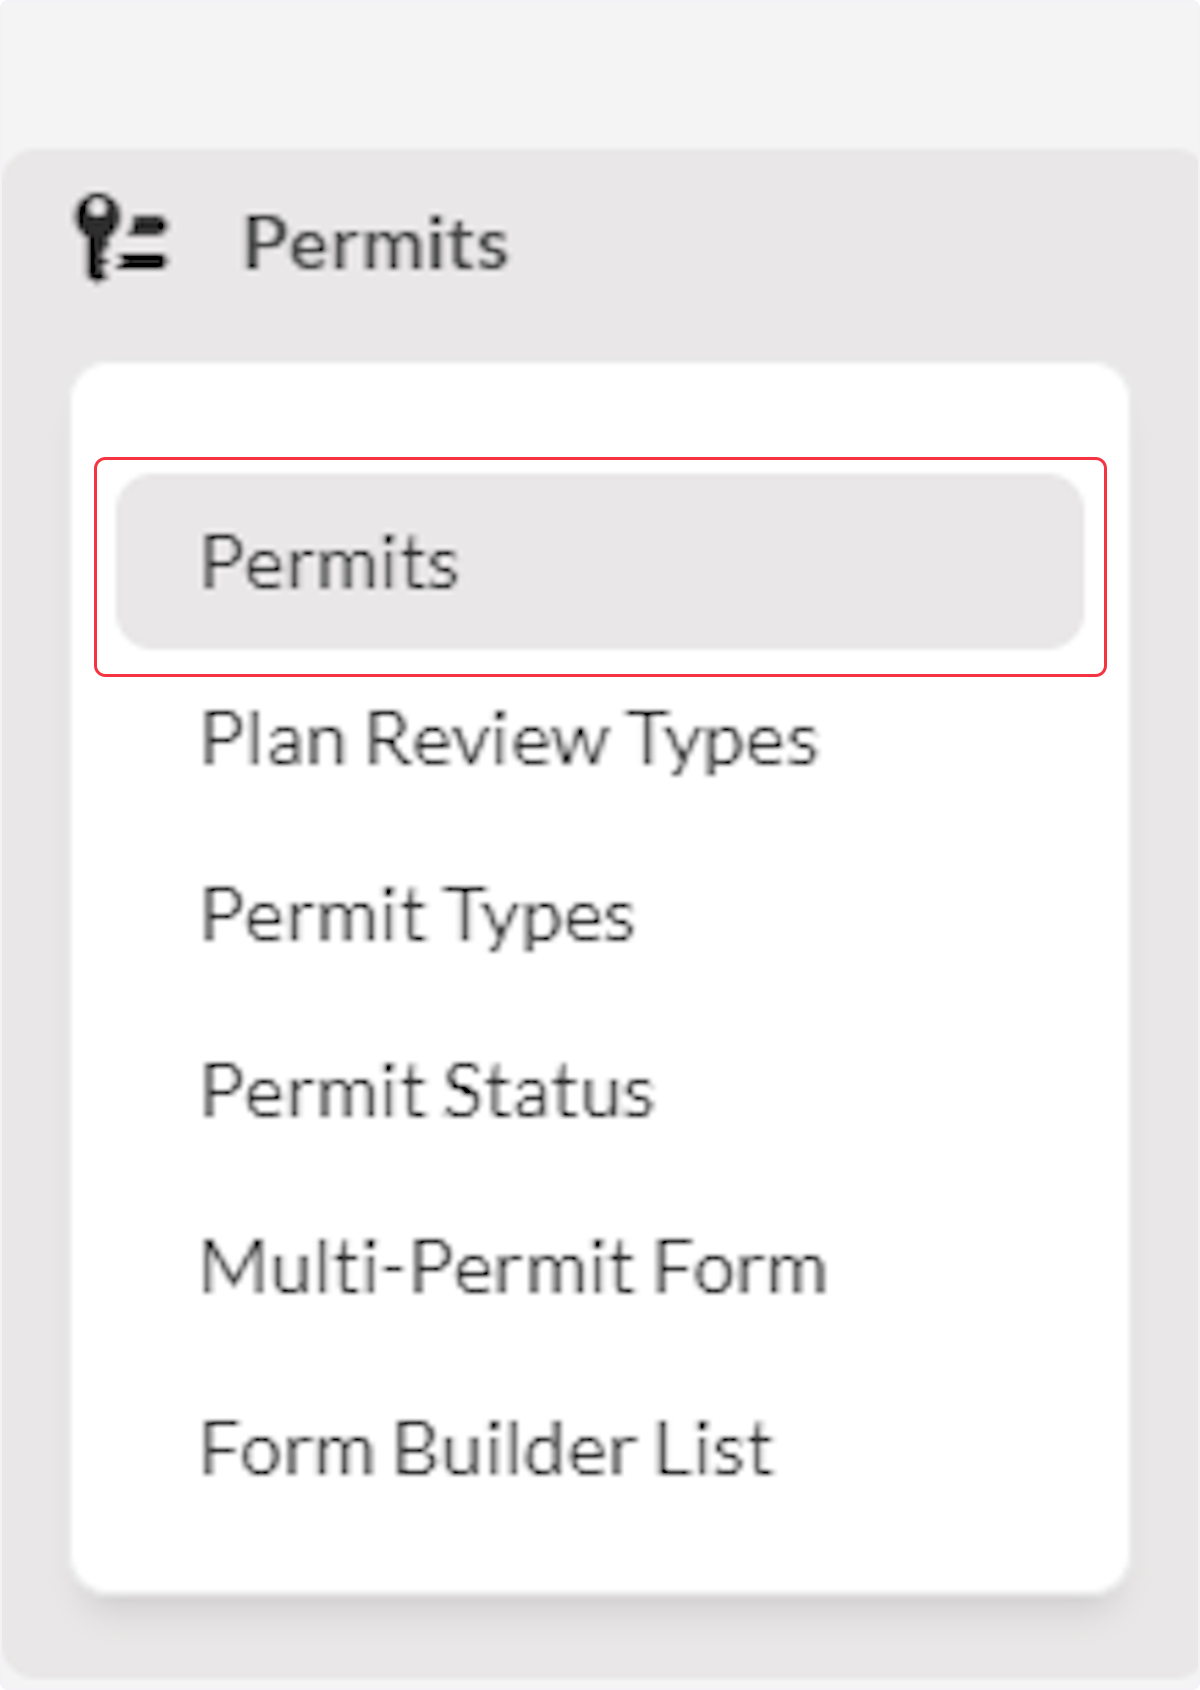
- Permits module access
- Edit permit permissions
- Ability to change permit status
- Access to custom data fields (if configured)
- Email notification permissions (for status updates)
Video
Step-by-Step Guide

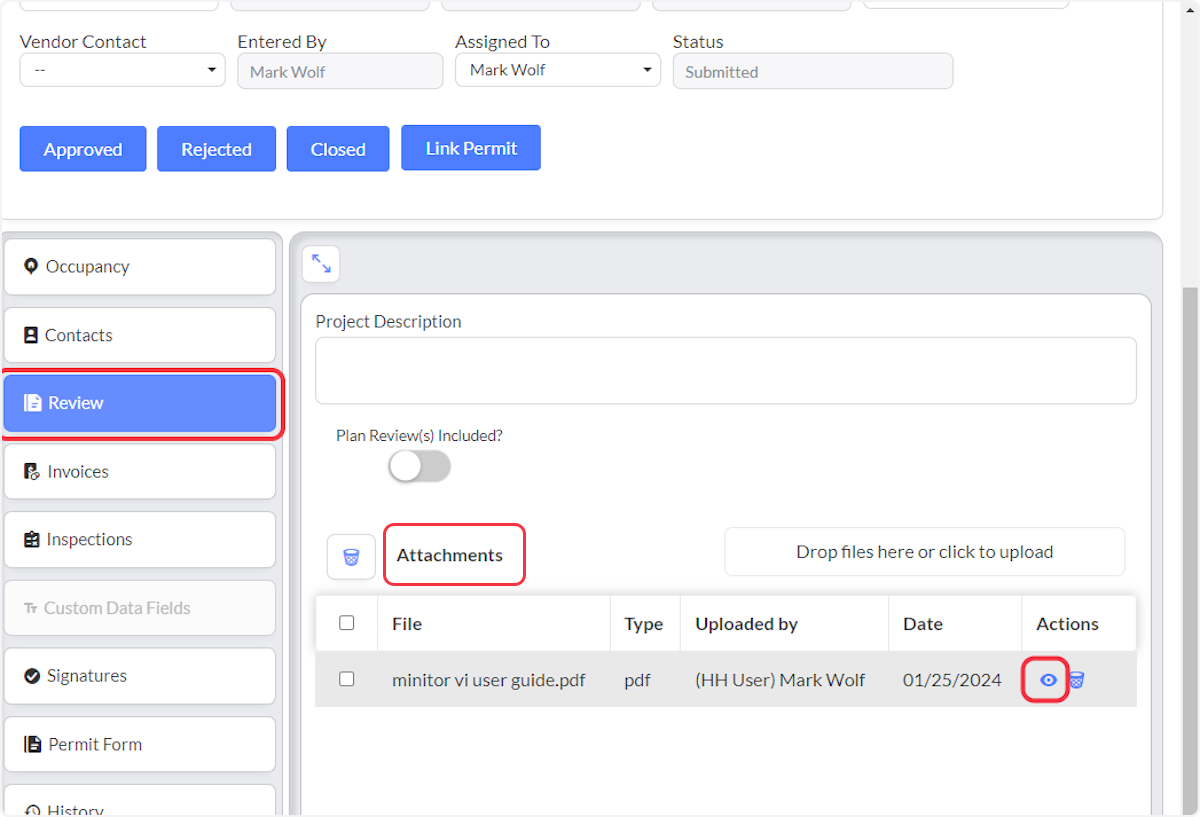
- Attached files will be in the Attachments area, click on View Attachment.
- To review Custom Data Field(s) displayed in the Community Connect Portal for the Permit requester, expand the Custom Data Field.
- The Custom Data Field will be marked with "Show on CC" (#1).
- Data entered by the requester will be displayed (#2).
- You may have other Custom Data Fields to to enter data into for the Permit.
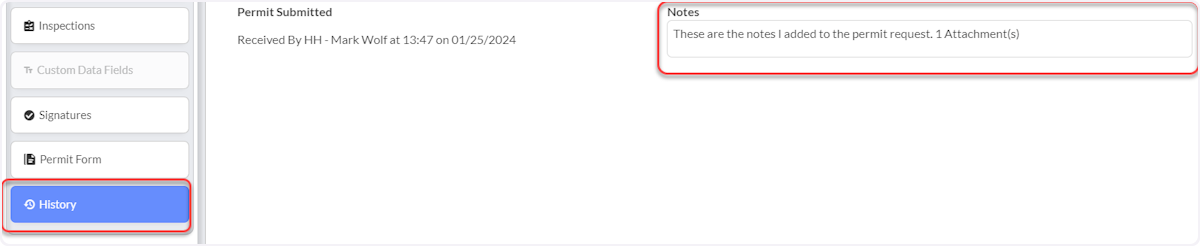
- Notes will be in the Permit Submitted row.
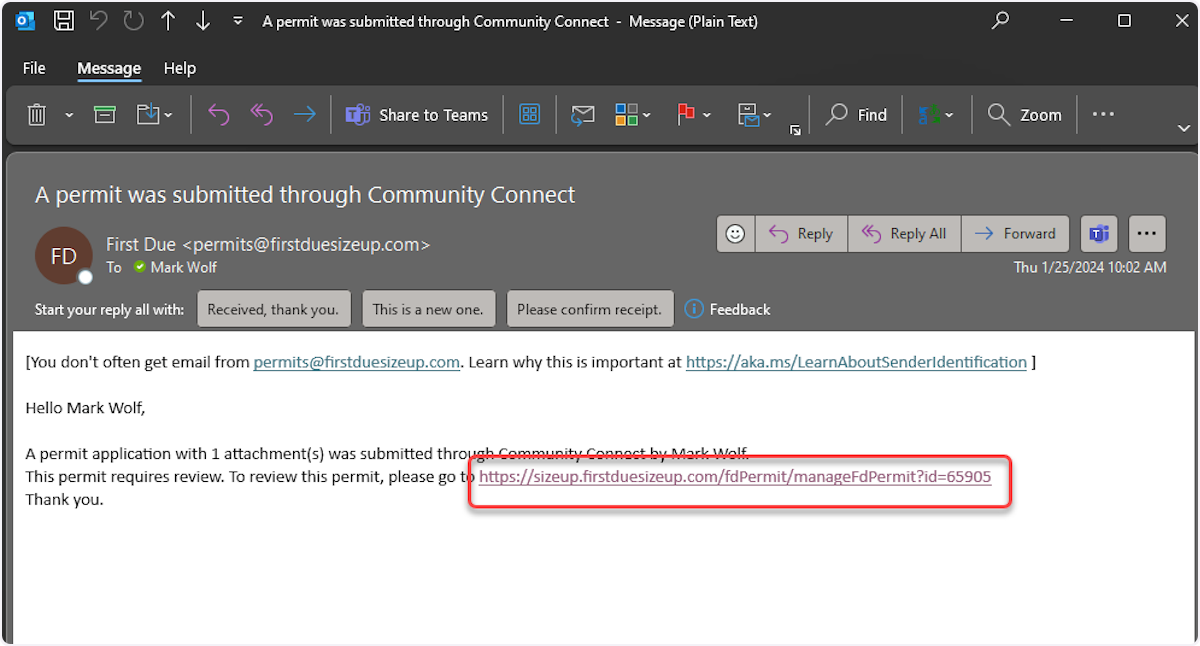
- The Permit requester will receive an email notification with any status change to the permit.
- For an "Approved" Permit, the requester will receive a copy of the Permit attached to the email.
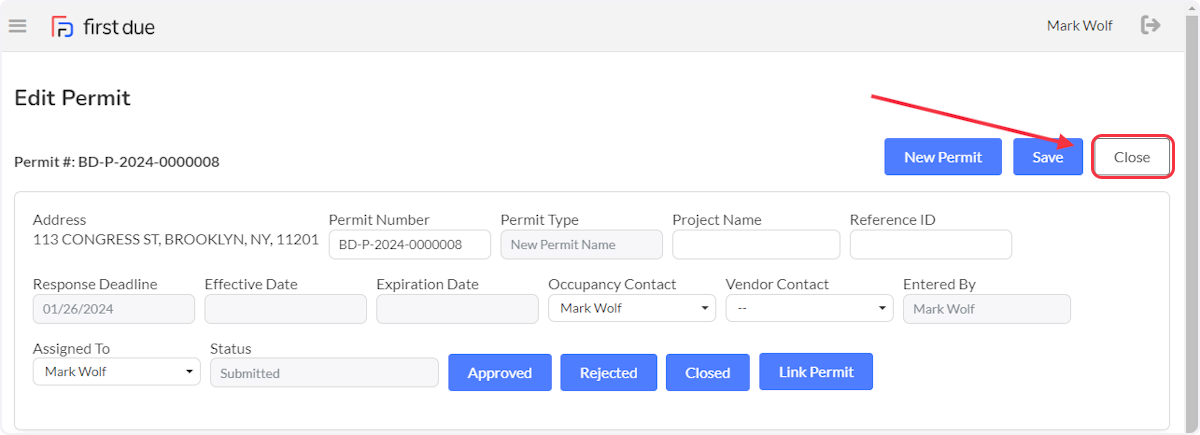
- Select the link and the user will be taken to the Edit Permit Page. Follow the same workflow process as described above in steps 5 through 9.
Best Practices
- Review all submitted permits promptly to maintain good community relations
- Verify all required attachments and custom data fields before processing
- Use consistent status updates to keep requesters informed
- Follow your department's established permit approval procedures
- Document any additional requirements or conditions in the permit notes
- Ensure proper assignment of permits to qualified reviewers
- Maintain clear communication with community requesters throughout the process
Troubleshooting & FAQs
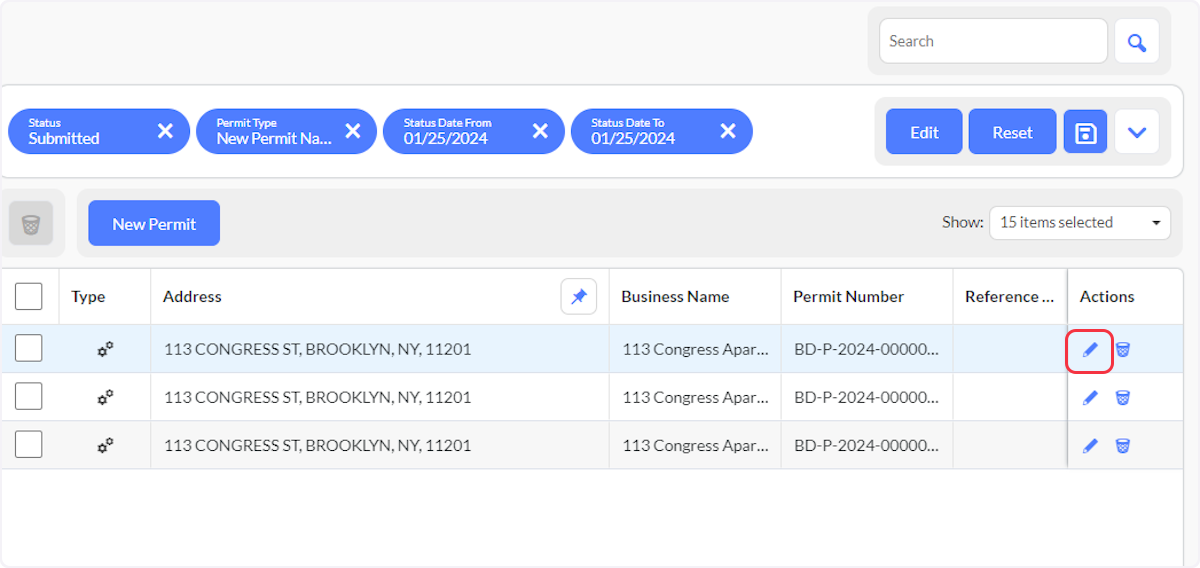
Q: What if I can't see submitted permits? A: Verify your Advanced Search filter is set to Status "Submitted" and ensure you have proper permissions to view permits.
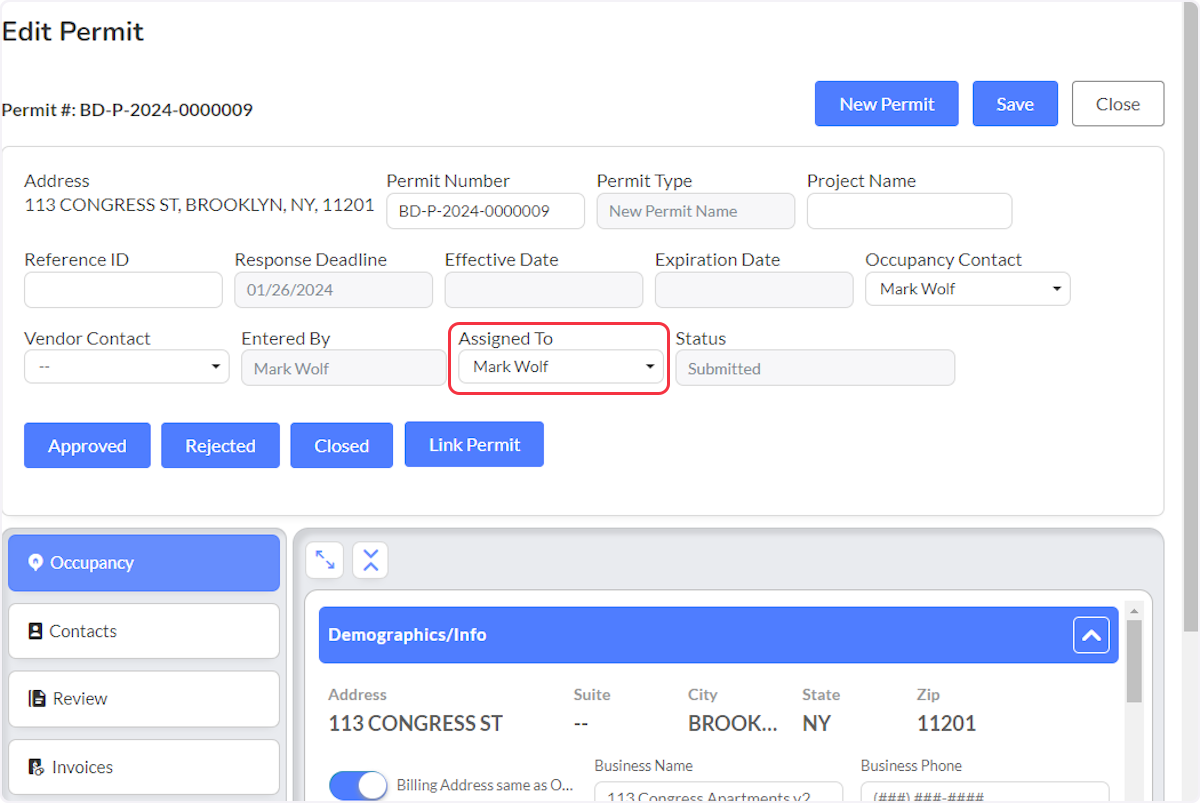
Q: Can I reassign a permit to another user? A: Yes, permits can be reassigned during the review process by changing the assigned user field.
Q: What happens if attachments won't open? A: Ensure you have proper permissions and that the file format is supported. Contact your system administrator if issues persist.
Q: How do I handle permits with missing information? A: Follow your department's procedure for incomplete applications, which may include contacting the requester for additional information before processing.
Related Articles
- Applying for a Permit in Community Connect - CC (Residential User)
- How to apply for a permit in Community Connect - HH (High Hazard/Commercial User)
- Create and Edit Permit Type
Related Articles
Inspection Request from Community Connect Portal
Purpose Statement This feature allows community members to request inspections through the Community Connect Portal, creating a streamlined process for inspection scheduling and communication between the public and fire department personnel. The ...Create and Edit Permit Type
Purpose Statement The Create and Edit Permit Types feature allows fire prevention administrators to establish and modify permit categories within the system. This functionality enables agencies to customize permit workflows, set response deadlines, ...Configure Permit Types for All User Portals
Purpose Statement This article explains how to configure permit types for access across all external user portals, including Community Connect (CC – Residential Users), HH Users (Business Users), and the Business Portal. This configuration allows ...Community Connect: New Burn Permit
Purpose Statement The Burn Permit feature in Community Connect enables fire departments to efficiently create and manage controlled burning permits for residents and businesses. This tool streamlines the permit application process, ensures proper ...Community Connect: Smoke Alarm Request
Purpose Statement The Smoke Alarm Request feature in Community Connect enables fire departments to efficiently manage and track smoke alarm installation, maintenance, and inspection requests from community members. This tool streamlines the process ...