Mobile Food Vendor Inspections - Best Practice
Purpose Statement
The purpose of this guide is to provide Fire Prevention personnel with a standardized best practice for managing mobile food vendors that operate within their jurisdiction. This process enables efficient tracking, inspection scheduling, and compliance monitoring of mobile food units by creating proper occupancy records that distinguish between the vendor's primary business location and their mobile units.
Background Information
Mobile food vendors present unique challenges for fire prevention departments as they operate from multiple locations while maintaining a primary business address. This best practice establishes a systematic approach to create occupancy records for both the vendor's main office/commissary location and individual mobile units (food trucks, trailers, carts). This method ensures proper inspection tracking, compliance monitoring, and maintains accurate records for regulatory purposes while accommodating vendors who may operate outside your jurisdiction but require inspections within it.
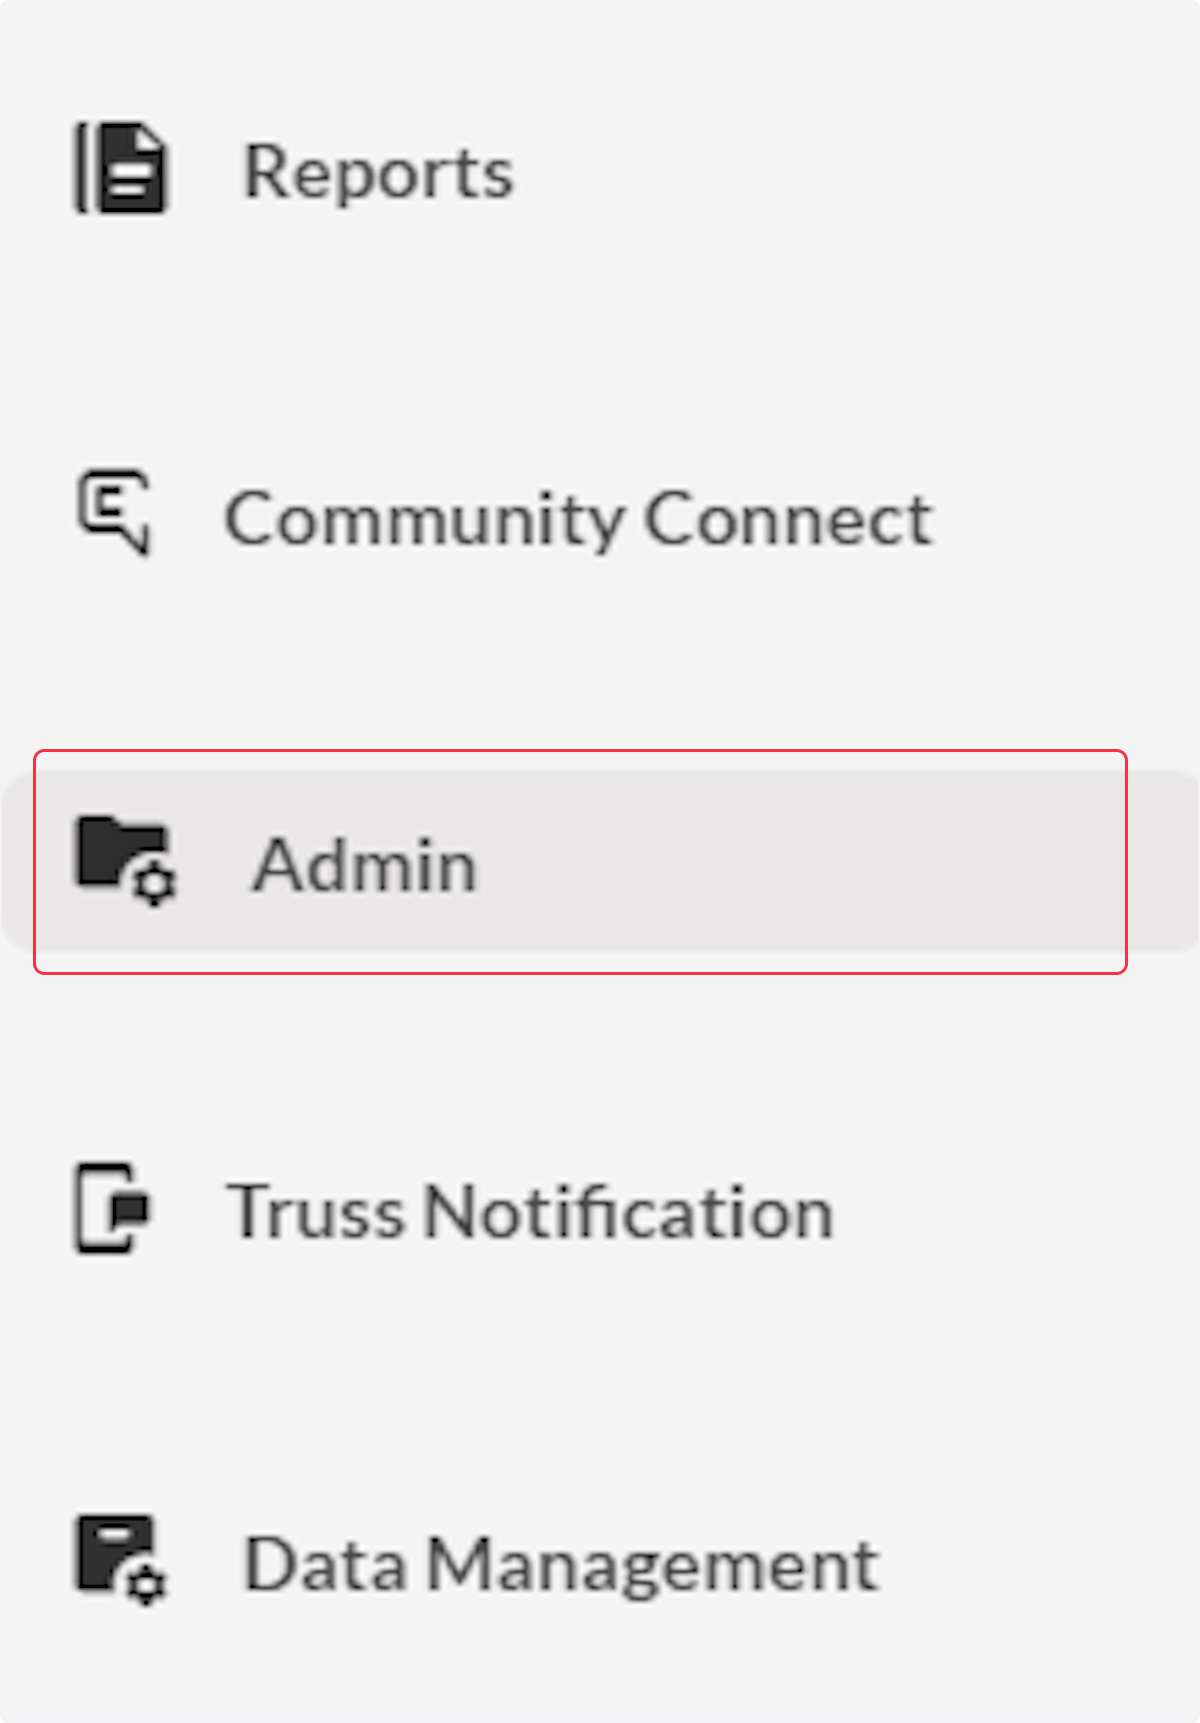
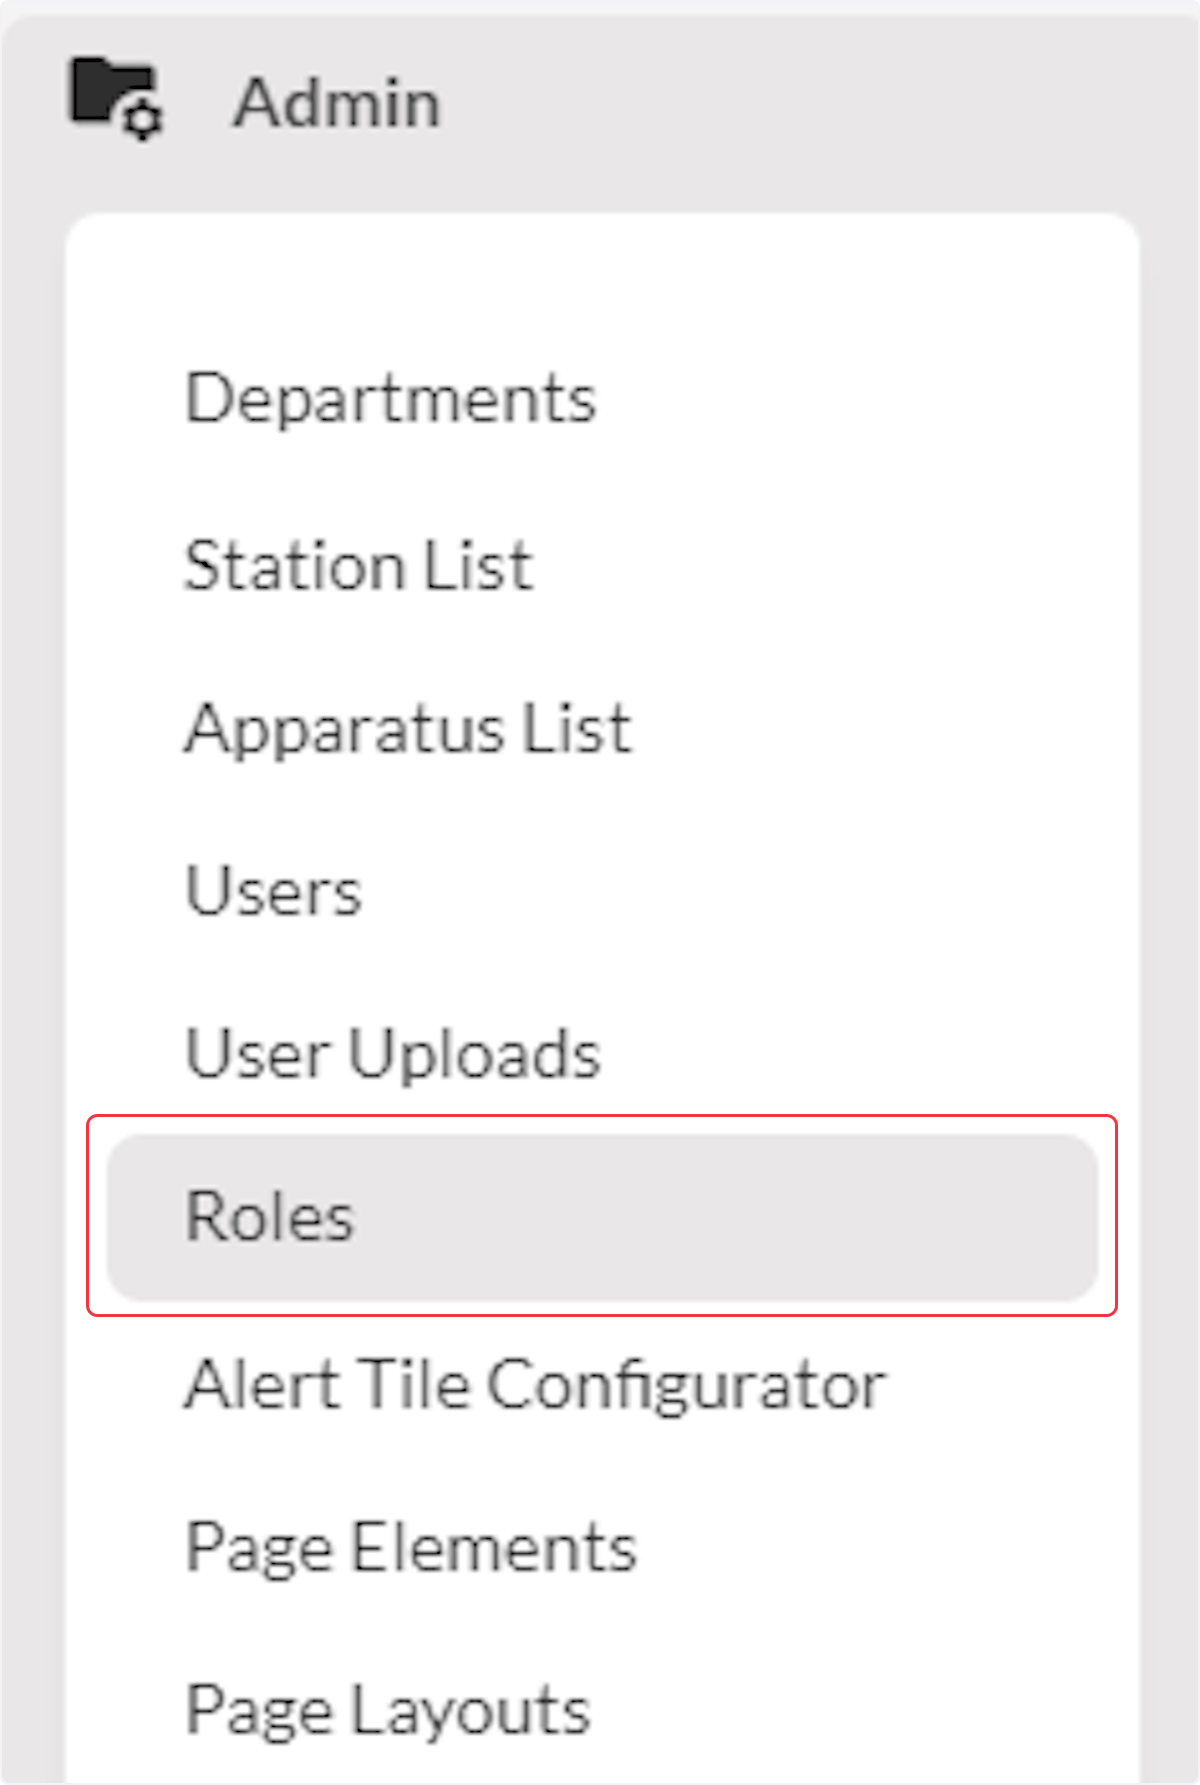
Required Permissions
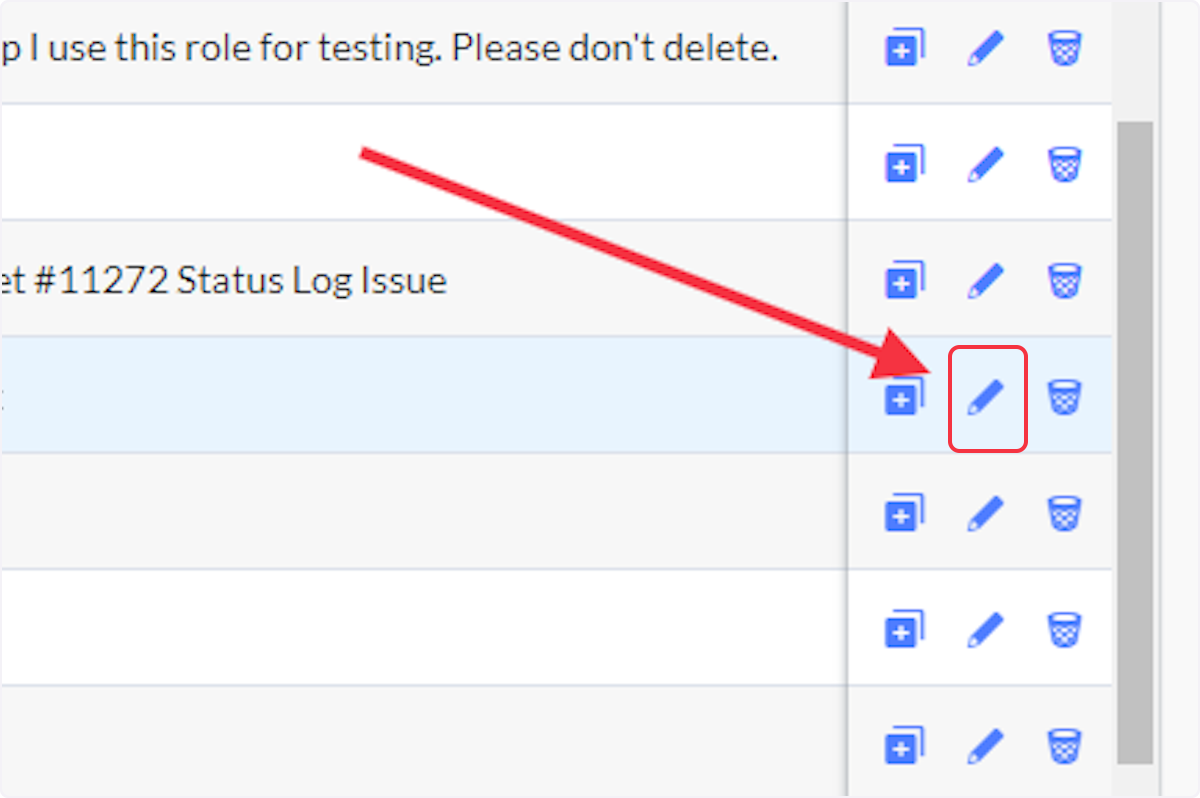
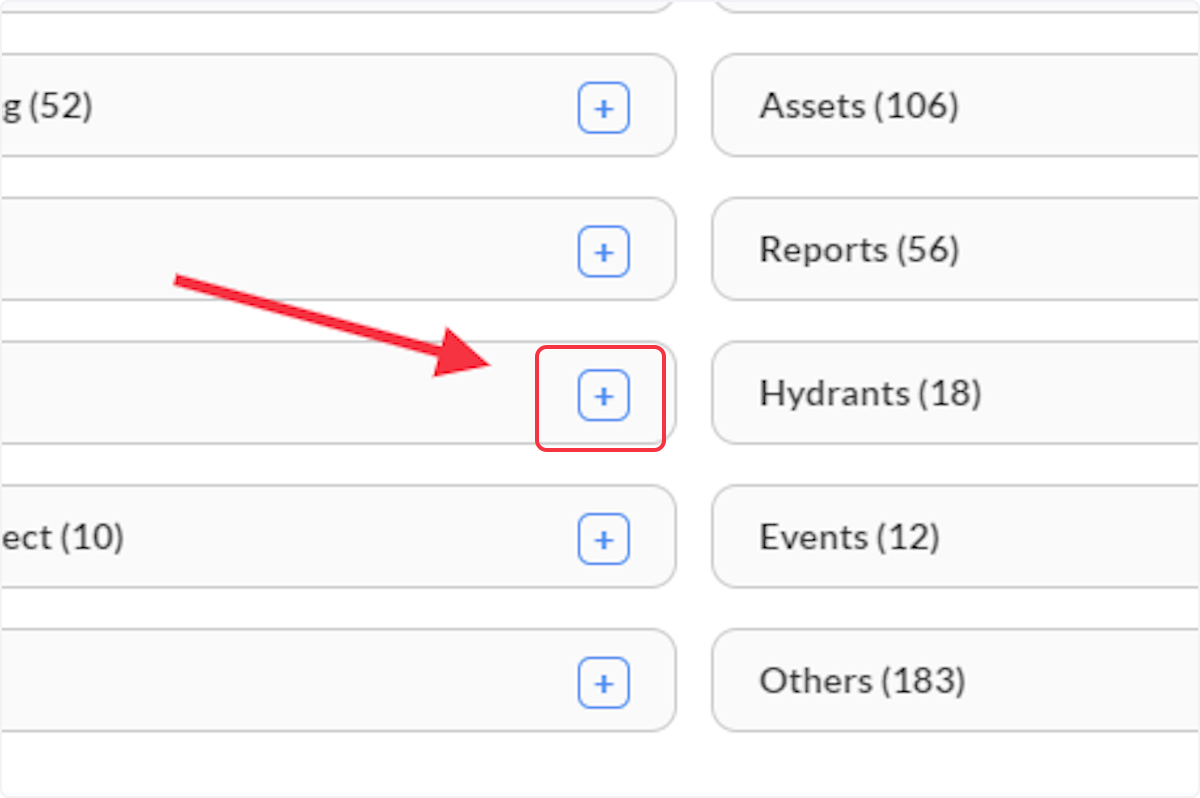
Users must have the following permissions enabled in their role to complete this process:
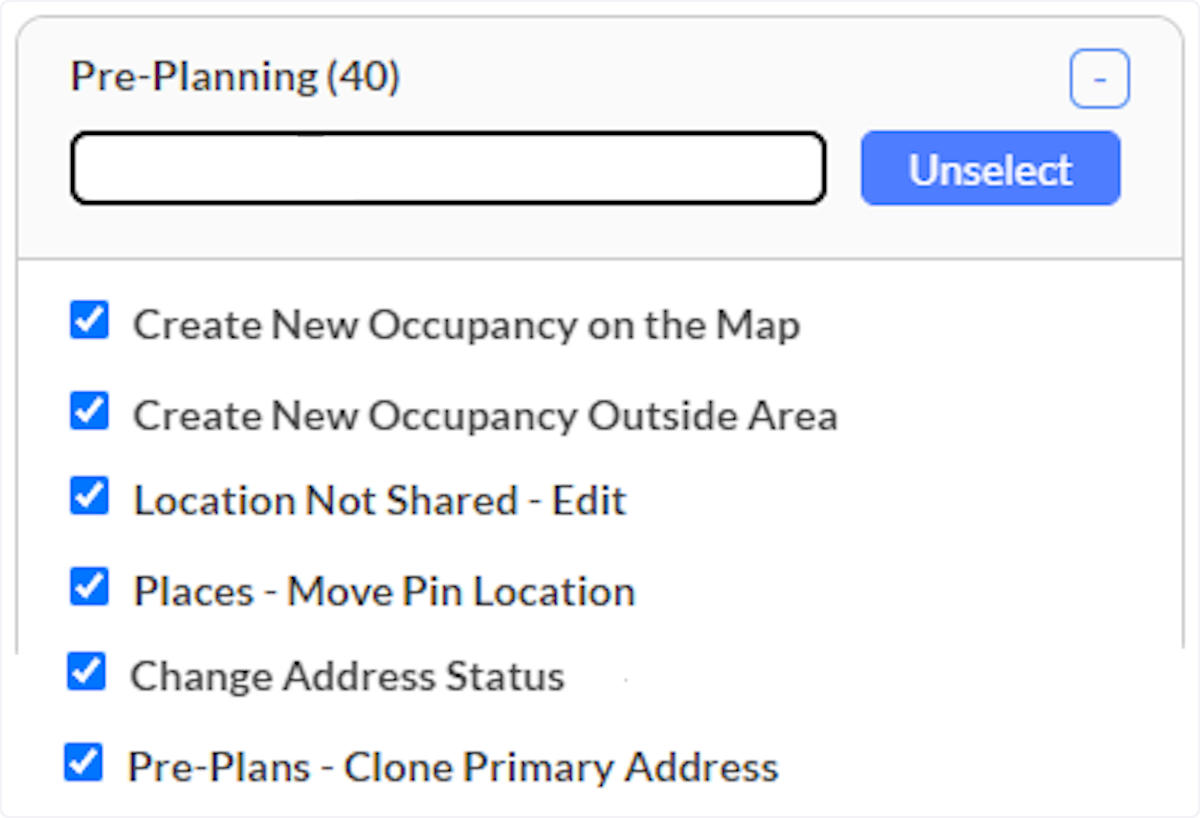
Pre-Planning Permissions:
- Create New Occupancy on the Map
- Create New Occupancy Outside Area
- Location Not Shared – Edit
- Places - Move Pin Location
- Pre-Plans - Clone Primary Address
- Change Address Status
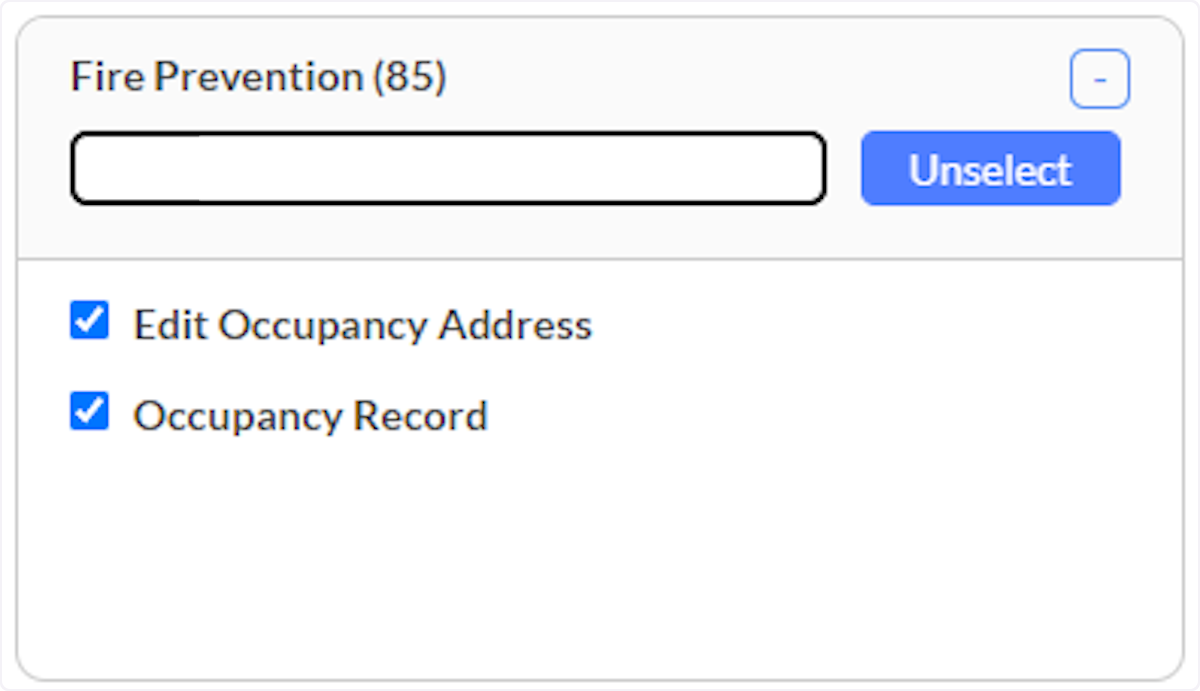
Fire Prevention Permissions:
- Edit Occupancy Address
- Occupancy Record
Video
Step-by-Step Guide
- Create New Occupancy on the Map
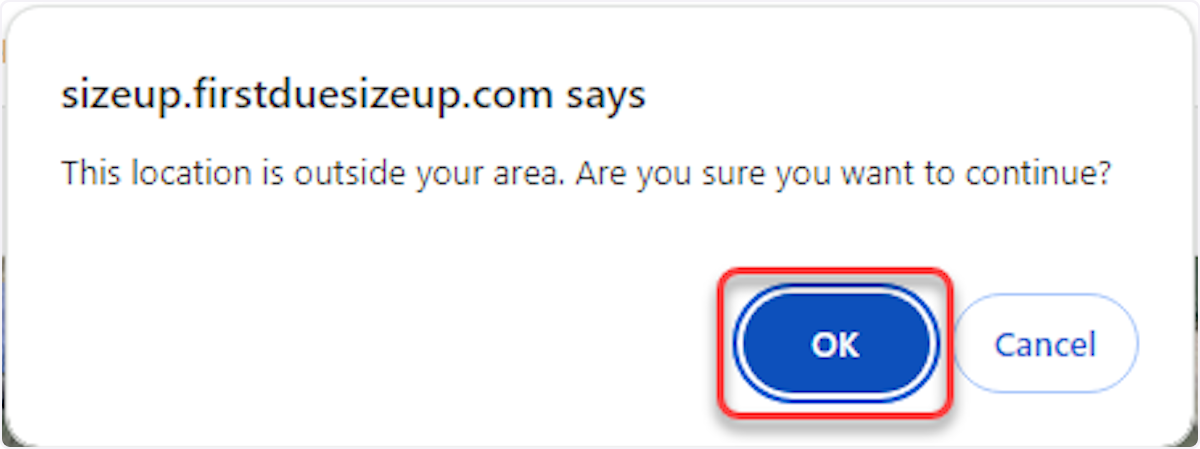
- Create New Occupancy Outside Area
- Location Not Shared – Edit
- Places - Move Pin Location
- Pre-Plans - Clone Primary Address
- Change Address Status
- Edit Occupancy Address (Allows the user to edit the address)
- Occupancy Record (Allow access to the Occupancy Record)
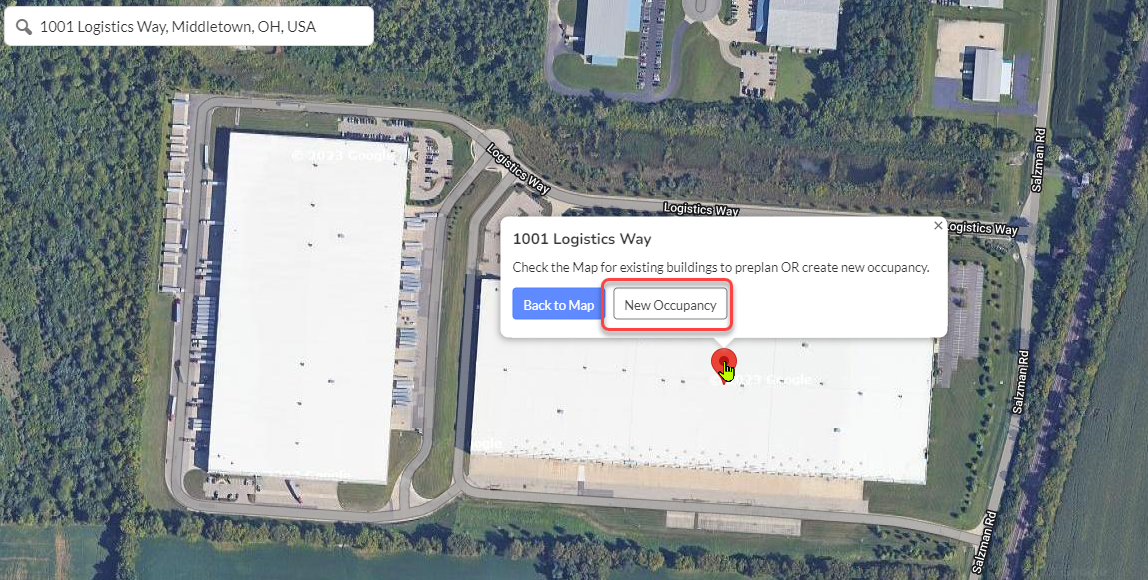
- NOTE: If the Occupancy is in your list of Occupancies, skip this step.
- Enter the address or move the map to the proper location. Double click on map to create the occupancy or if you entered an address click on the pin to create the new occupancy.
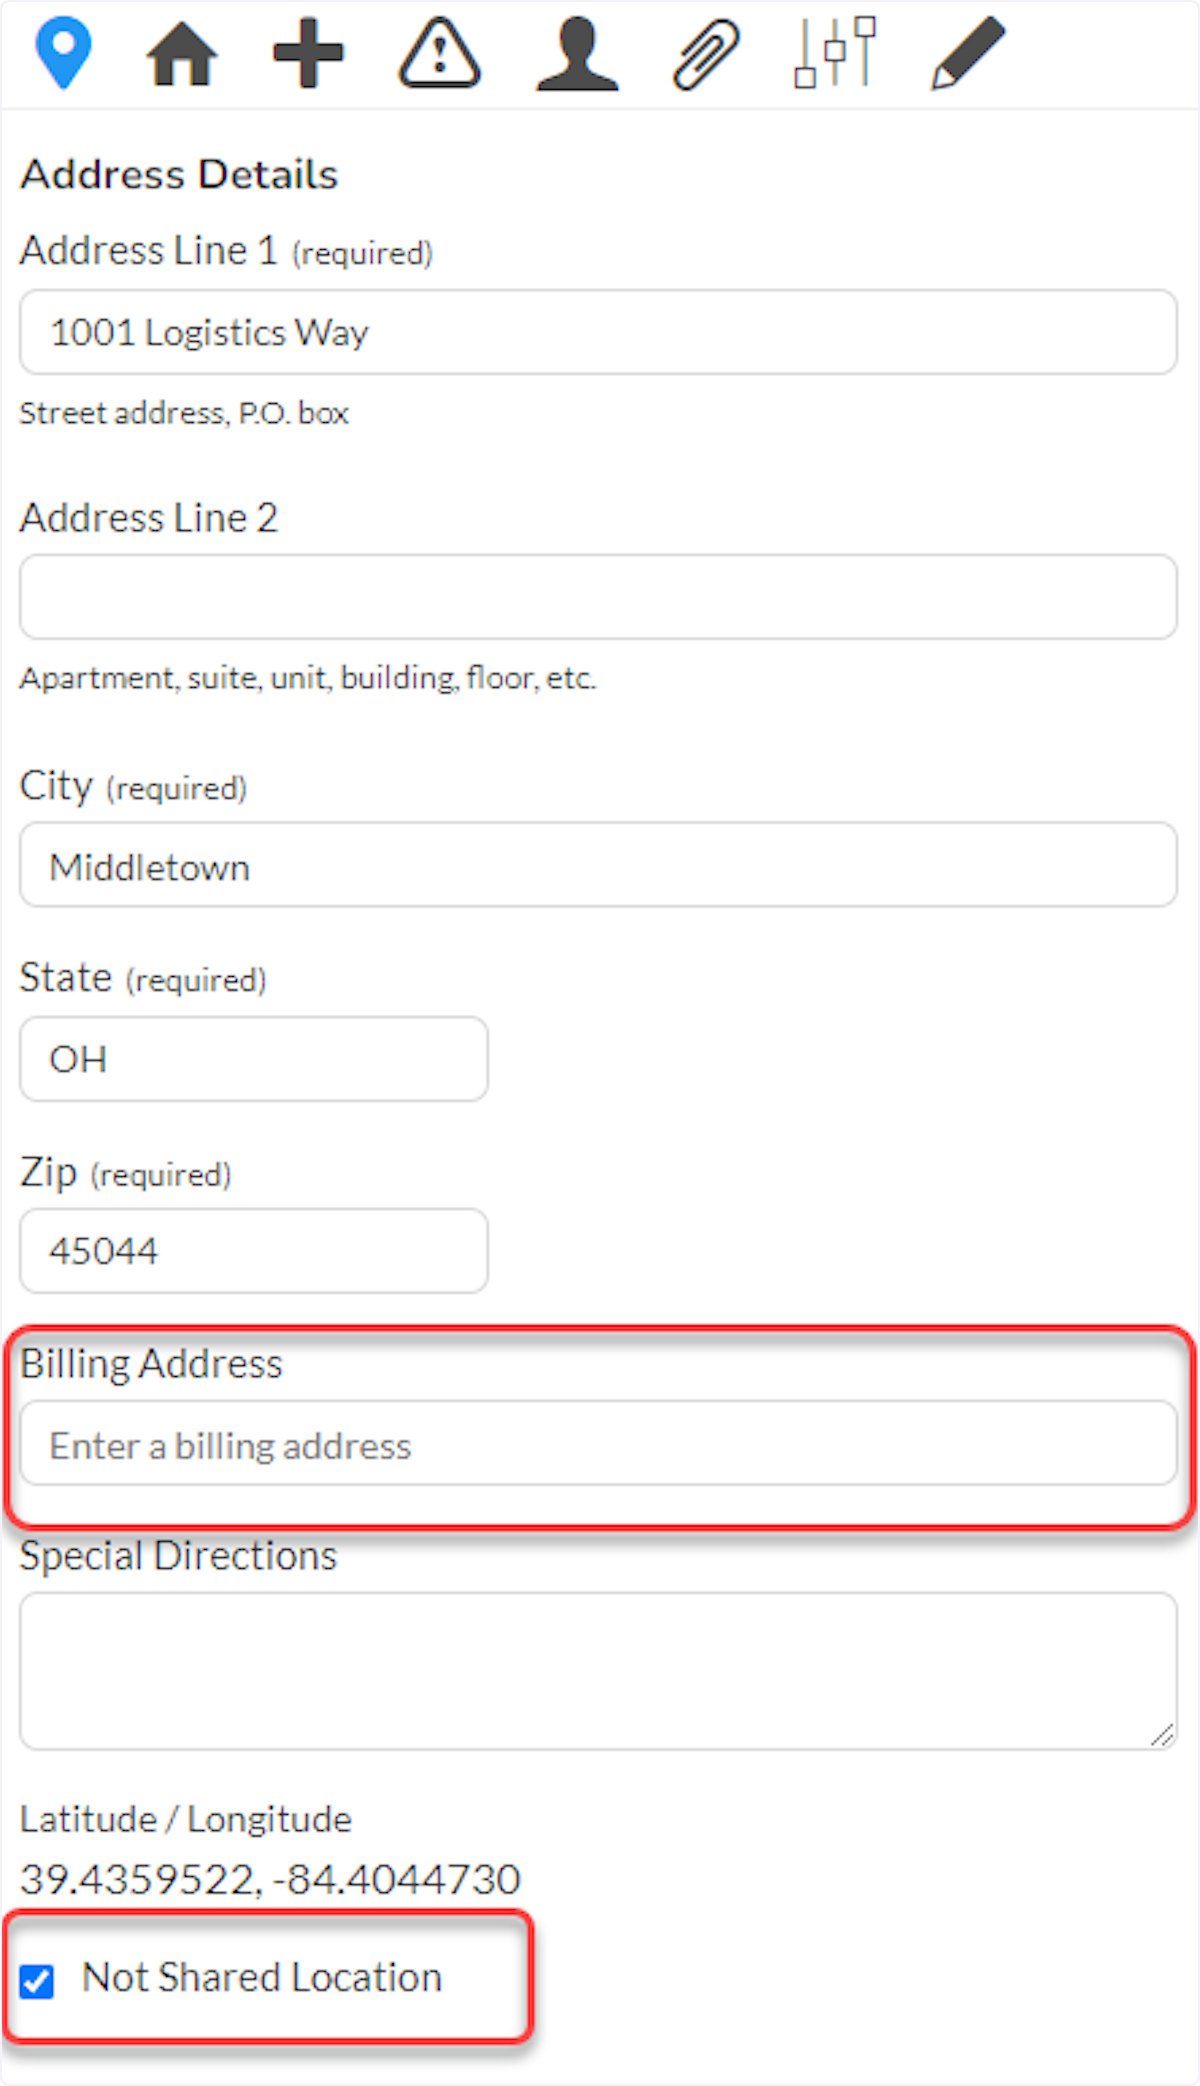
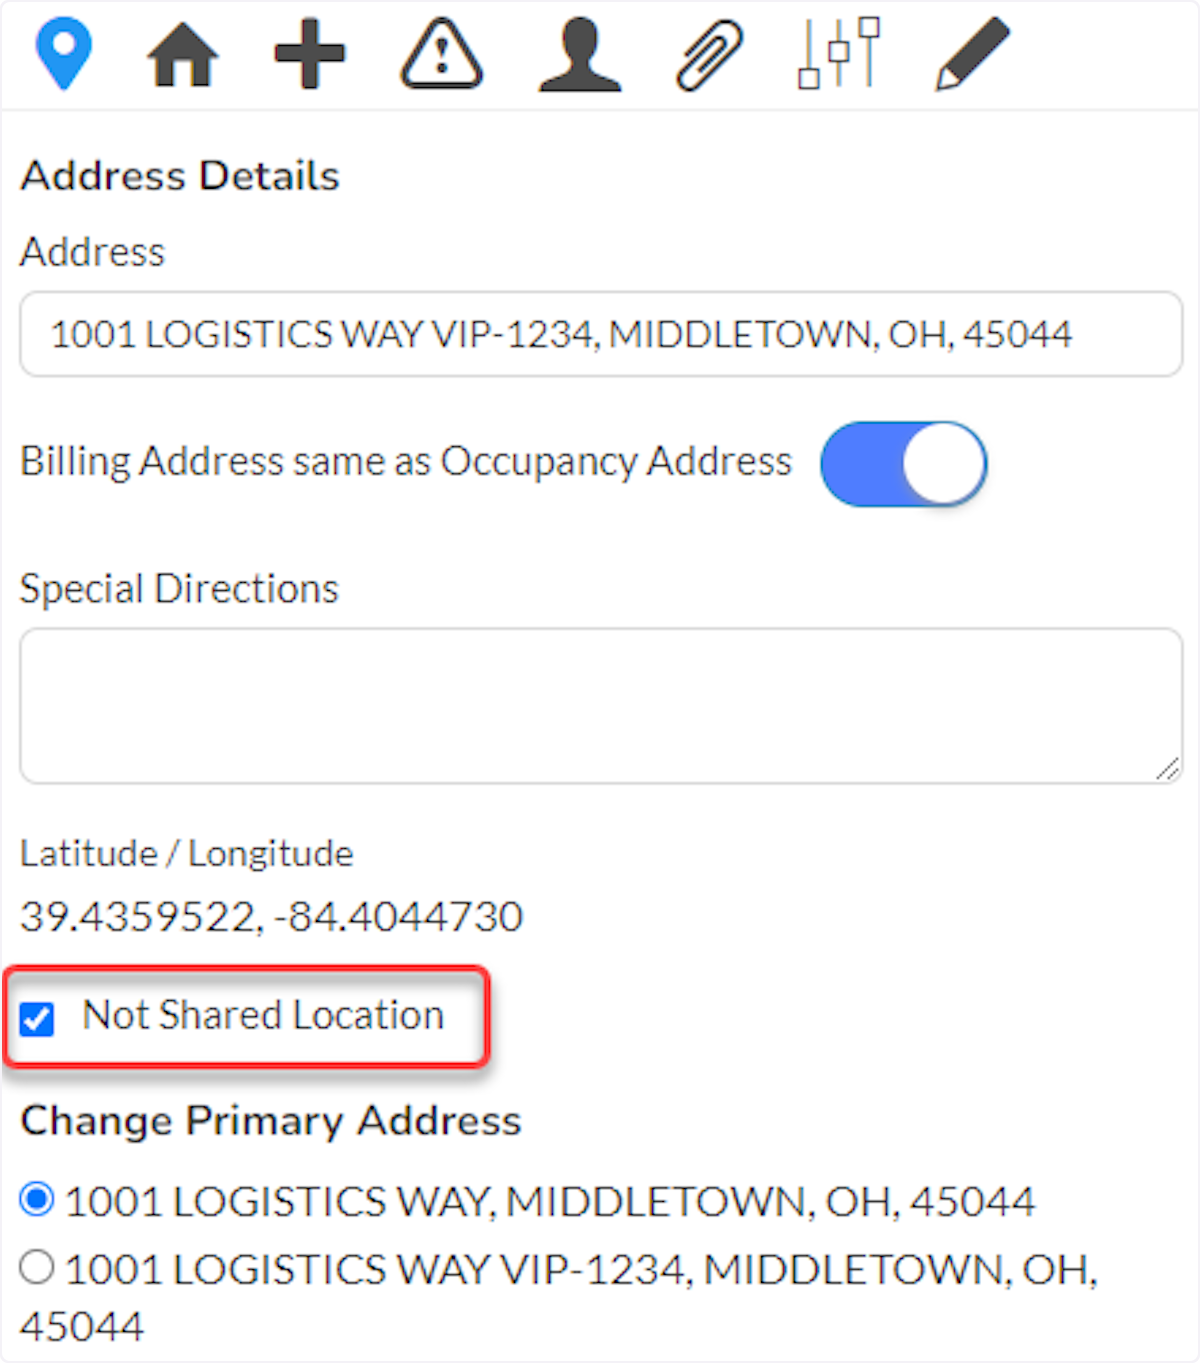
- Enter a billing address if different from the location address (#1).
- Select "Not Shared Location" (#2) if the location is outside of your jurisdiction.
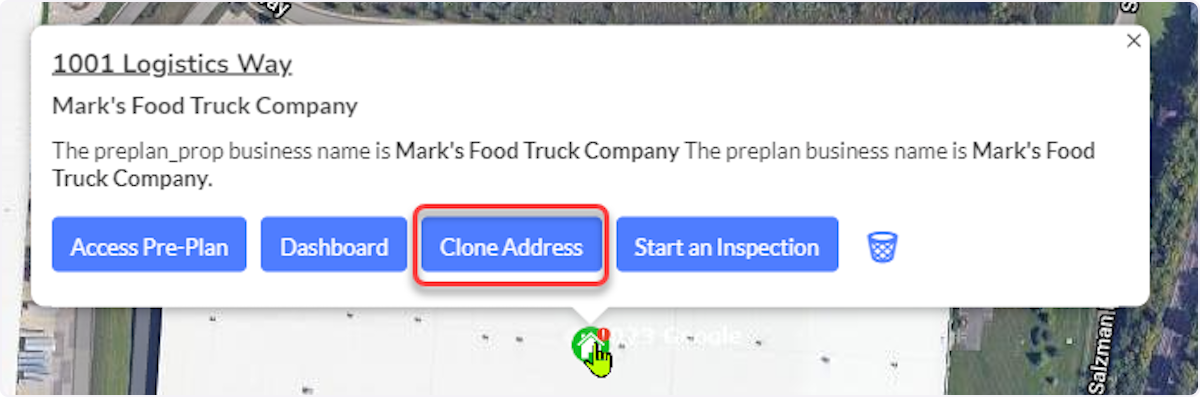
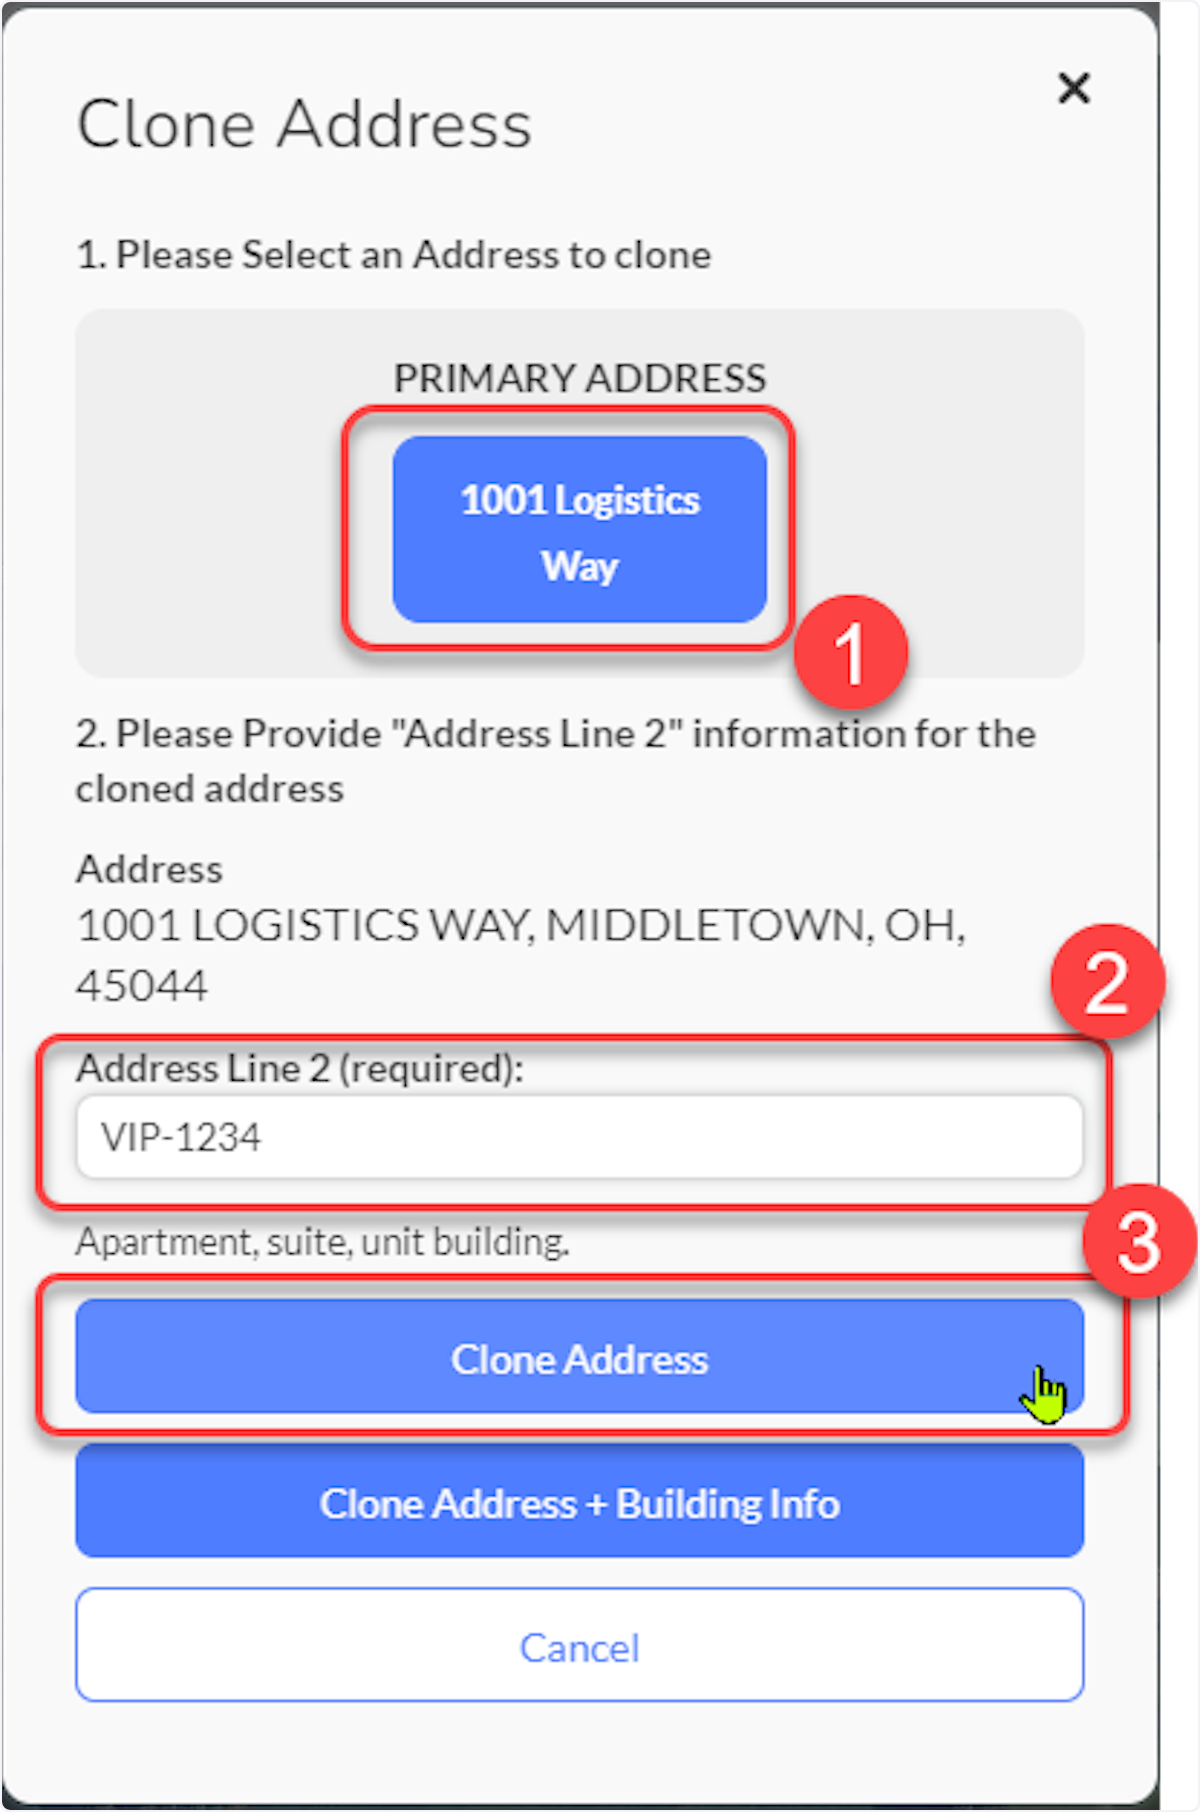
- Select the primary Address (#1).
- Enter an identifying number for the Mobile Food unit such as the License Plate Number, VIN, Unit Number, etc. in Address Line 2 (#2).
- Select "Clone Address" (#3).

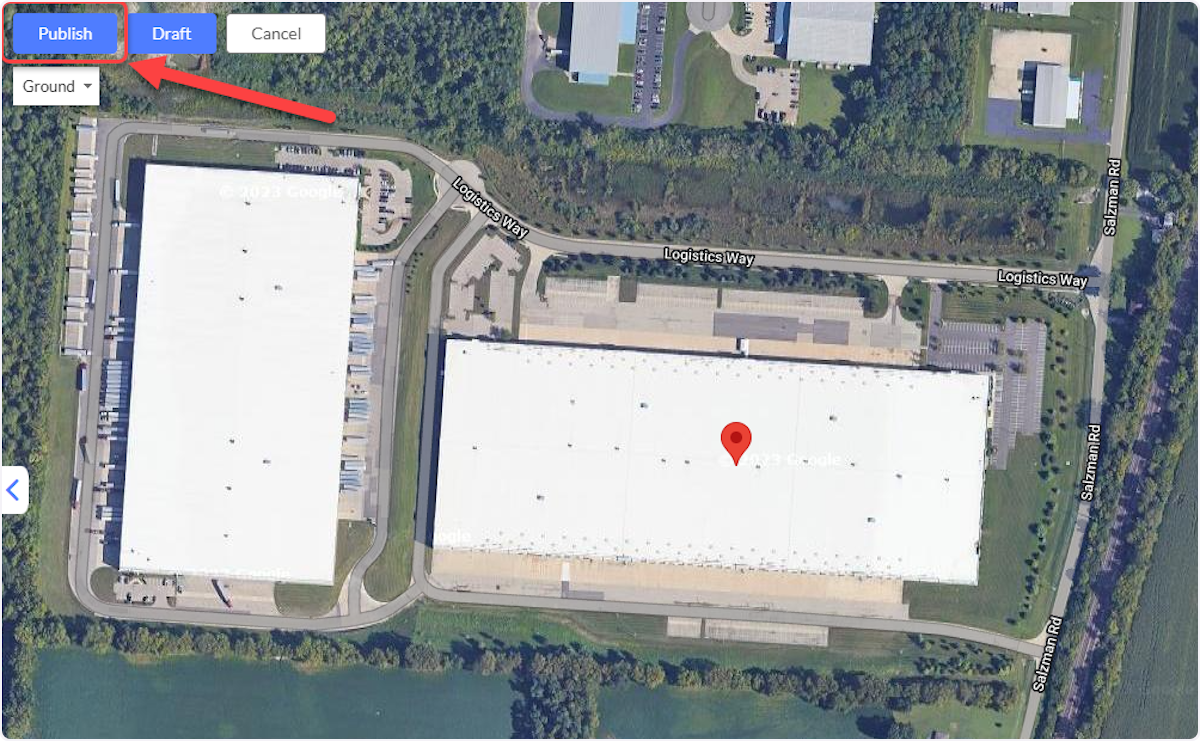
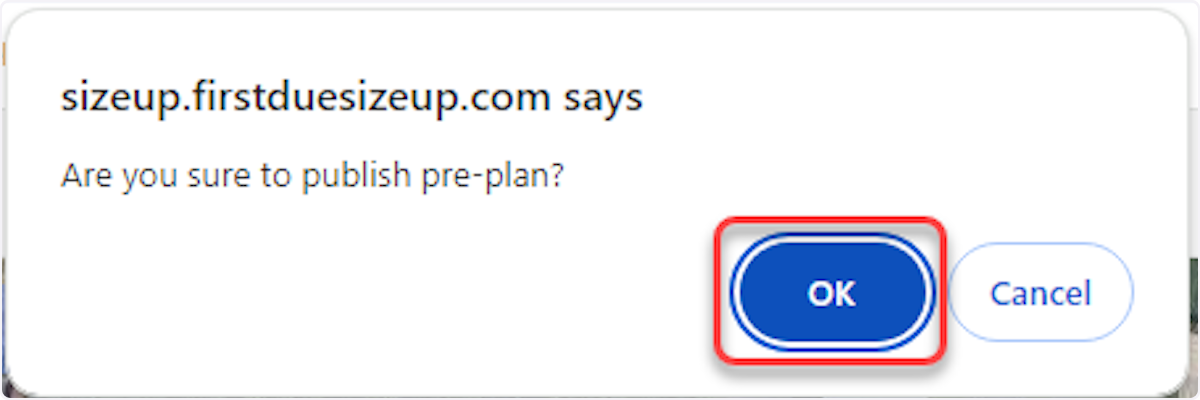
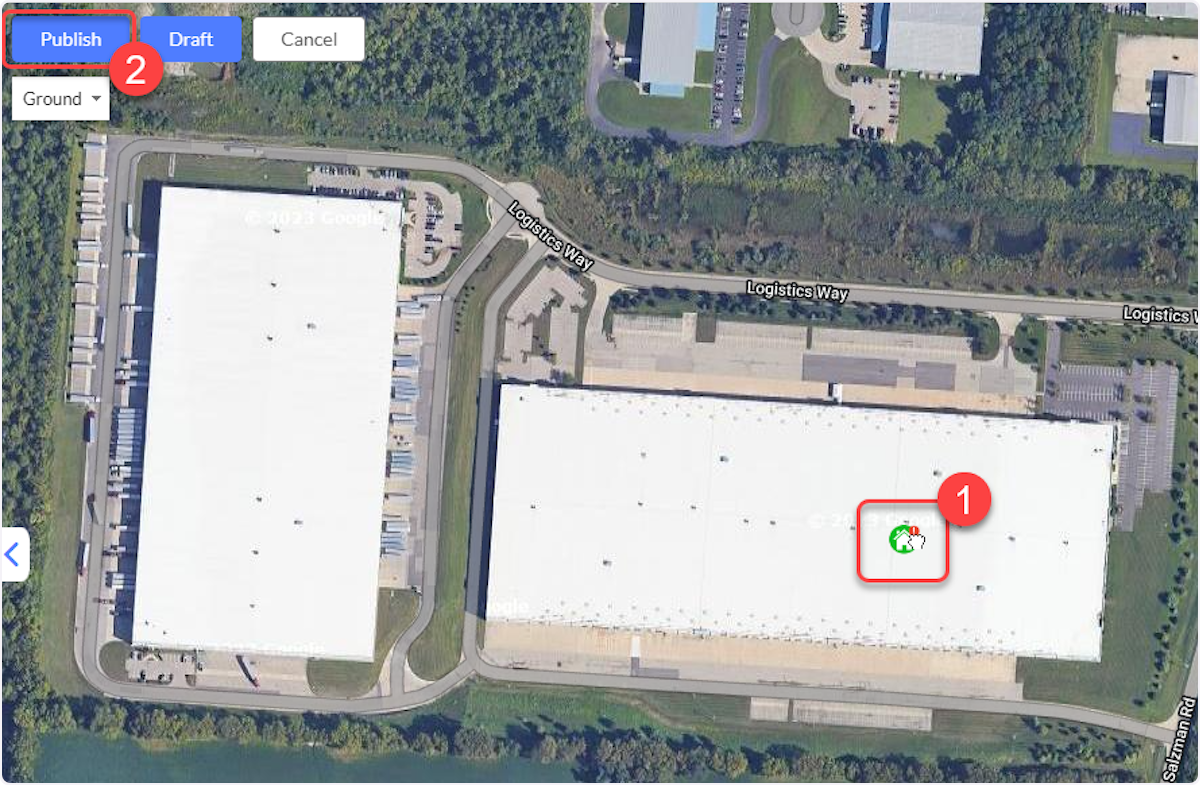
- Move the address marker to separate it from the address marker for the Primary Address (#1).
- Select Publish (#2).
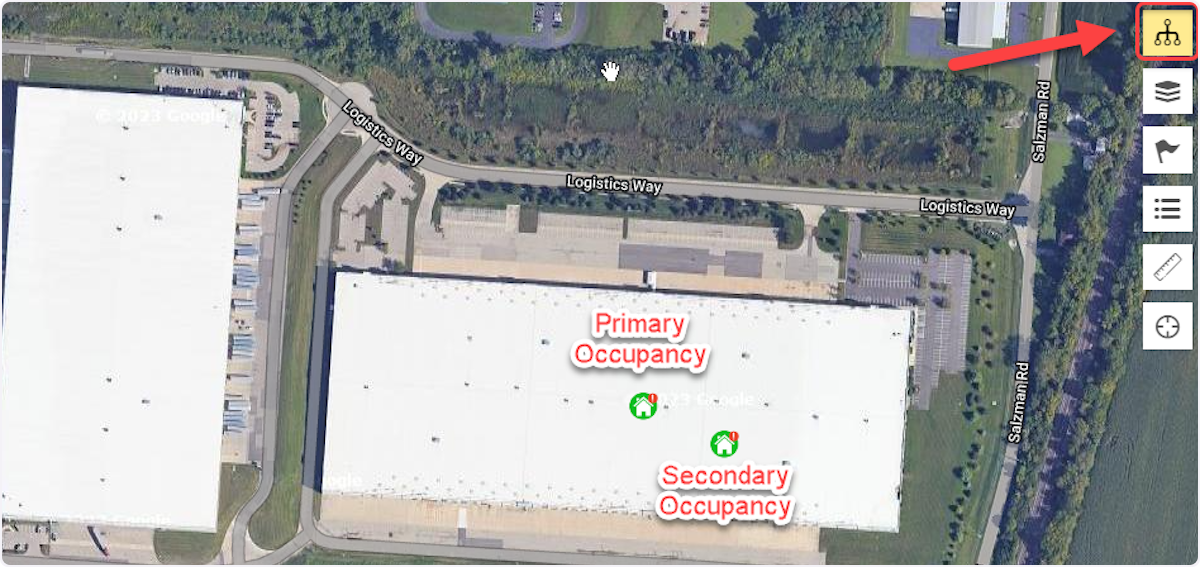
- Select the address marker for the correct Mobile Food unit.
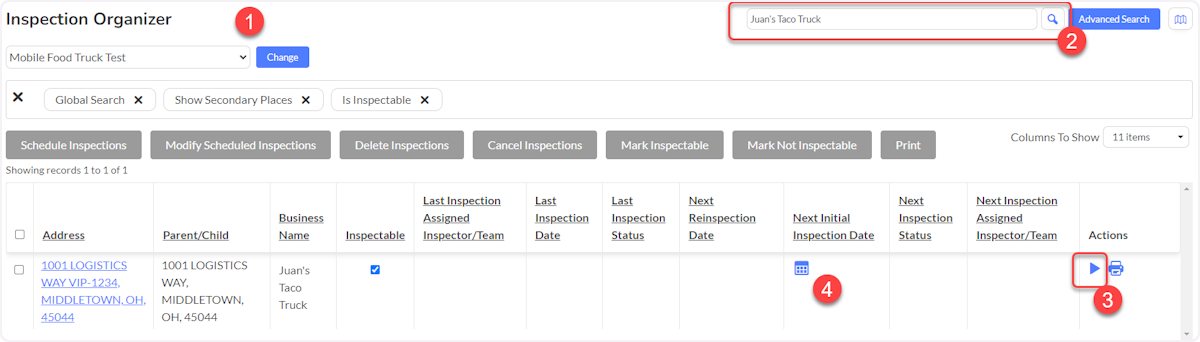
- Select Start an Inspection. The assumption is that your agency has a correct Inspection Type for Mobile Food unit.
- Select the correct Inspection Type and then select "Change" (#1).
- Enter identifying information for the Mobile Food unit and the select search (#2).
- Select Inspect (#3).
- Or, schedule the Mobile Food unit for an Inspection (#4). This will put the Inspection on the Inspections List page.
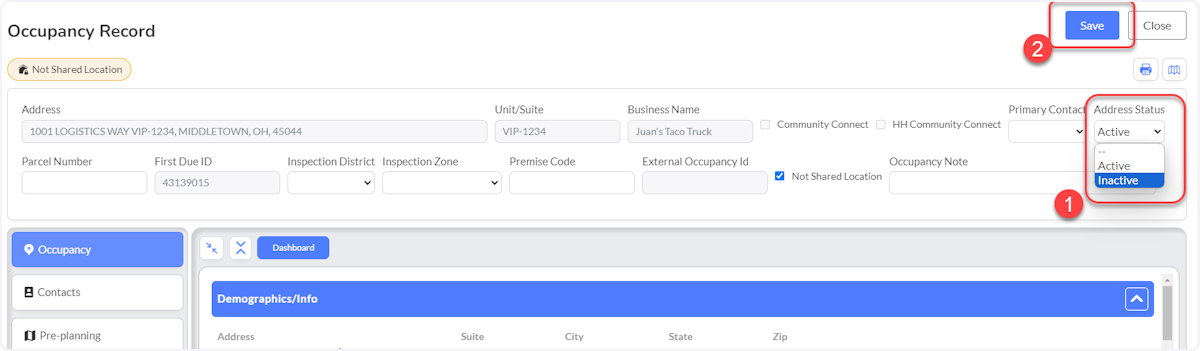
- NOTE: The Mobile Food unit can also be restore to Active Status.
Best Practices
- Use consistent identification methods for mobile units (license plate numbers, VIN, or assigned unit numbers)
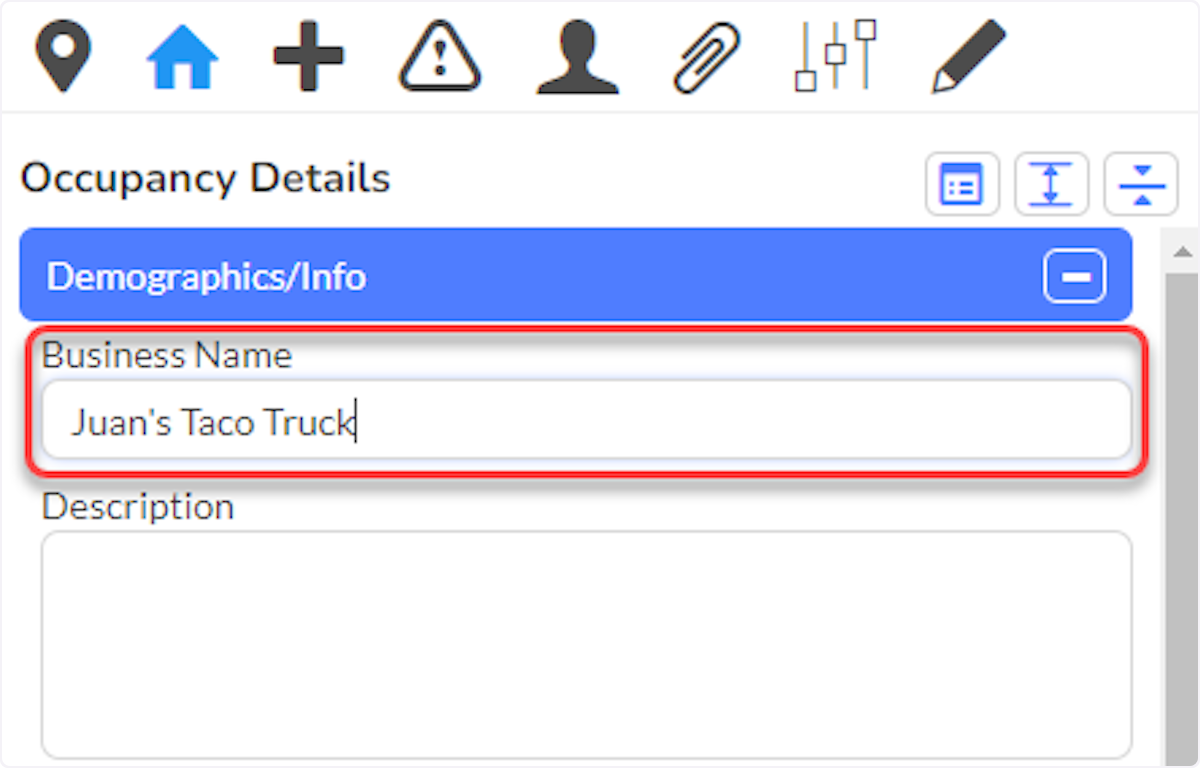
- Maintain clear naming conventions for mobile food units to distinguish them from the primary business location
- Separate address markers on the map to avoid confusion between primary and mobile unit locations
- Verify inspection types are properly configured for mobile food units before implementing this process
- Regularly review and update mobile unit status based on current operations
- Document any special operating agreements or permits in the occupancy notes
- Coordinate with other departments that may also regulate mobile food vendors
Troubleshooting & FAQs
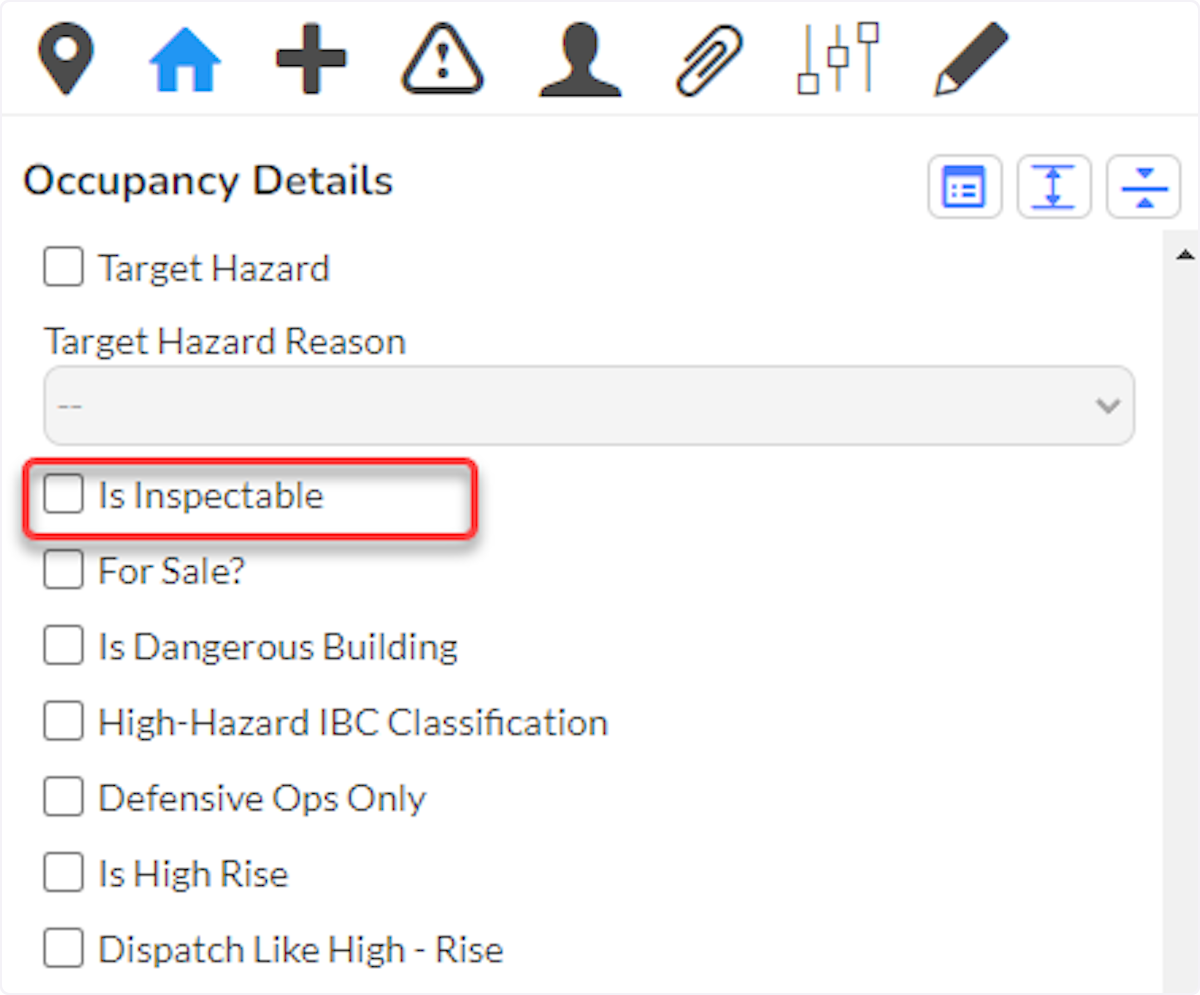
Q: What if the mobile food vendor's primary location is outside our jurisdiction? A: Mark the primary occupancy as "Not Shared Location" and ensure "Is Inspectable" is disabled. Only the mobile units operating within your jurisdiction should be marked as inspectable.
Q: Can I restore a mobile food unit that was marked as inactive? A: Yes, select the occupancy record and change the Address Status back to "Active," then save the changes.
Q: What if I don't see the Clone Address option? A: Verify that you have the "Pre-Plans - Clone Primary Address" permission enabled in your user role.
Q: How do I handle seasonal mobile food vendors? A: Use the Active/Inactive status feature to temporarily deactivate units during off-seasons and reactivate them when operations resume.
Q: What information should I include in Address Line 2 for mobile units?
A: Use the most permanent identifying information available, such as license plate number, VIN, or vendor-assigned unit number.
Related Articles
Inspection Record - Pre-planning
Purpose Statement This feature allows Fire/EMS personnel to update pre-plan data while conducting an inspection, ensuring that critical occupancy information remains current and accurate. This integration streamlines the inspection process by ...Managing the Occupancy Record
Purpose Statement The Occupancy Record management feature allows fire department personnel to efficiently navigate, view, and update comprehensive property information including occupancy details, contacts, pre-planning data, permits, inspections, ...Admin > Field Management
Purpose Statement Field Management enables administrators to configure and customize form fields across the First Due platform. This feature allows agencies to tailor data collection fields, set user permissions, and manage dropdown lists to meet ...Occupancy Log
Purpose Statement The Occupancy Log allows inspectors to record visits, complaints, and phone conversations that aren't tied to formal inspections but are crucial for understanding the full occupancy history. This feature provides a comprehensive ...Inspections: Scheduling Inspections
Purpose Statement To provide users with comprehensive guidance on the different methods available for scheduling inspections within the First Due system. This feature enables fire prevention personnel and administrators to efficiently schedule ...