CAD Reconciliation
Purpose
- To demonstrate the features and navigation of the CAD Reconciliation Report.
- This report will break down information from a CAD connection and Incident Documentation.
Video
Directions
1. Click on Reports.
2. Click on Incidents.
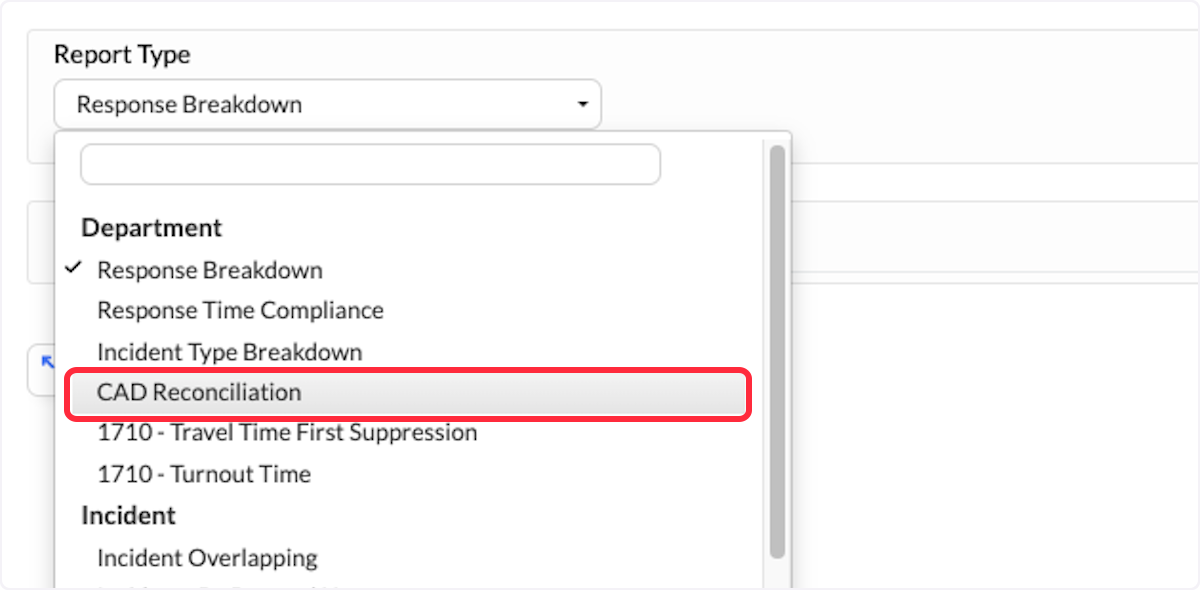
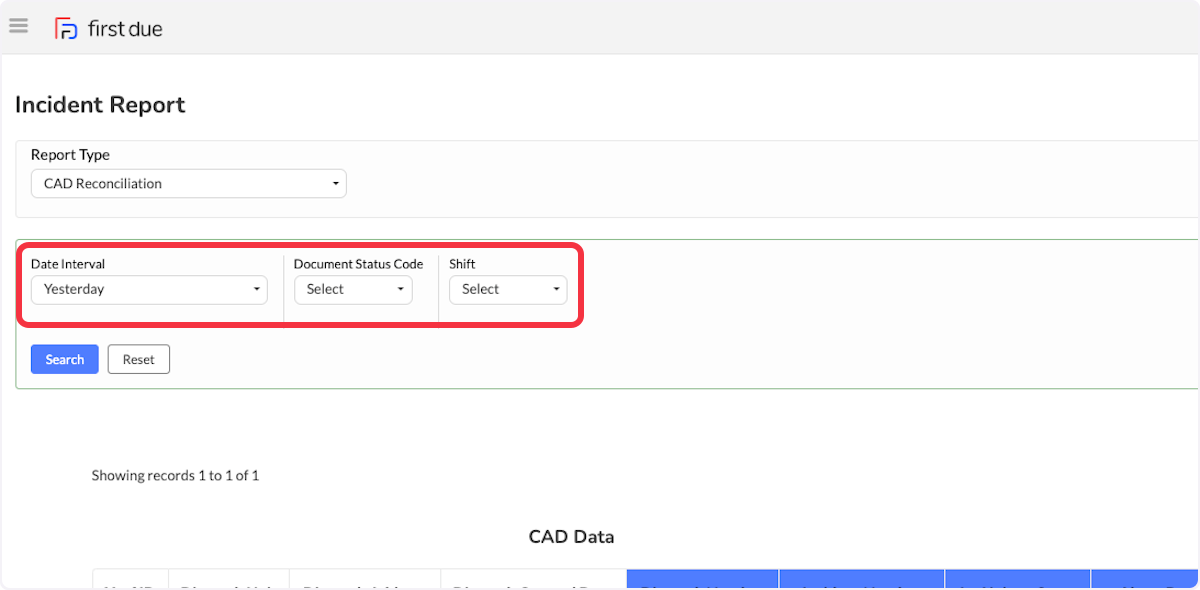
3. Change the report type to CAD Reconciliation.
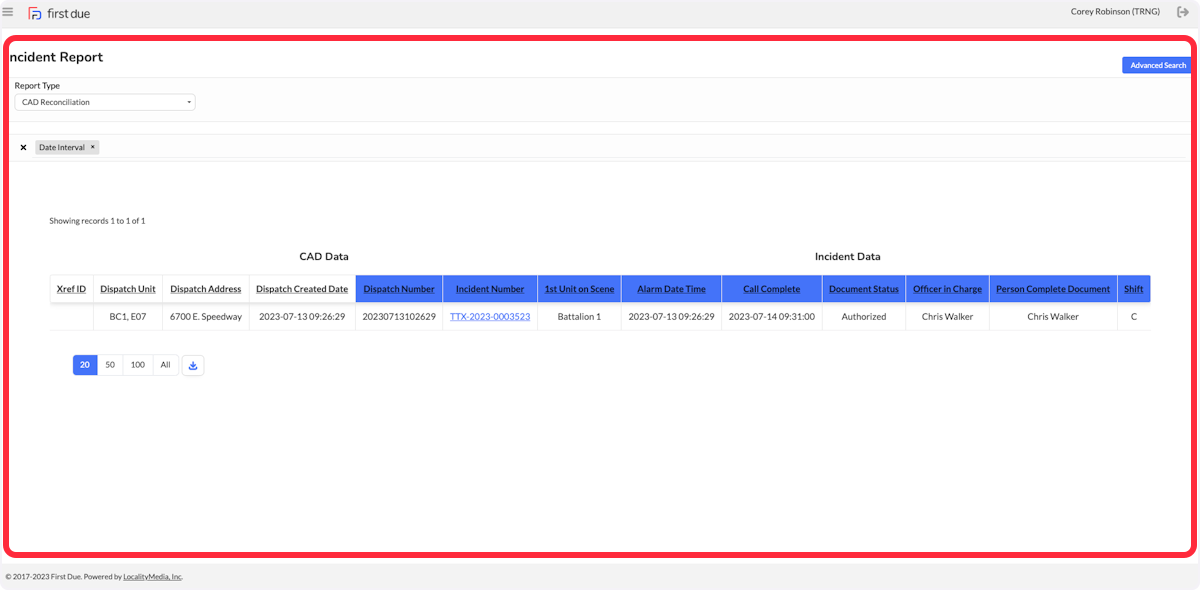
4. The report will be displayed below.
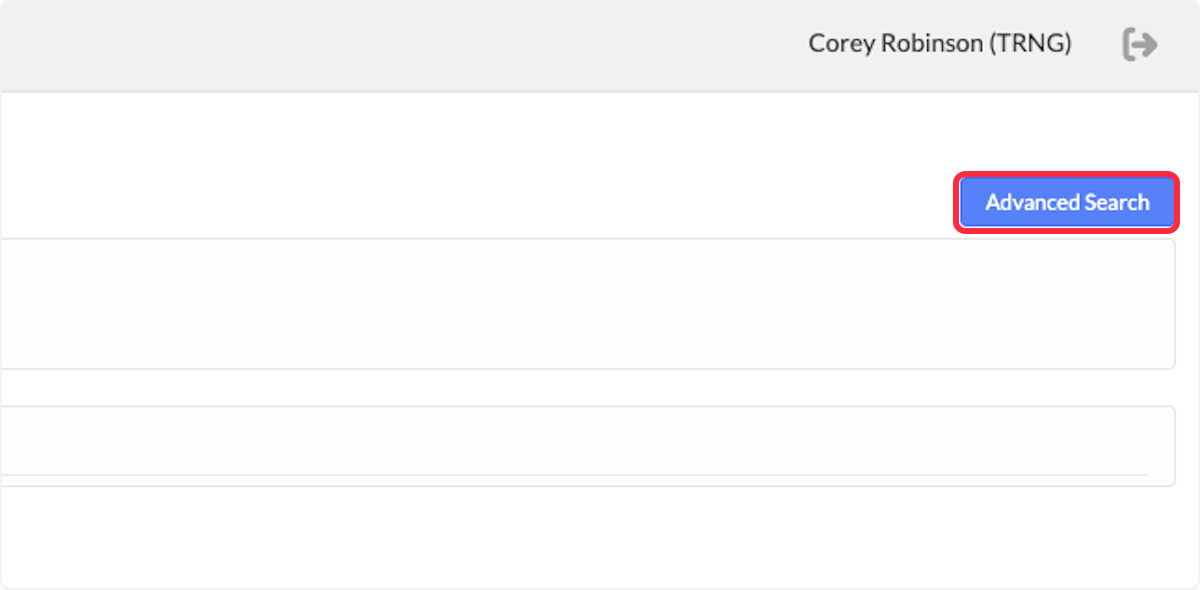
5. To change the parameters of the report, click on Advanced Search.
6. Filters are available for Date Interval, Document Status Code, and Shift.
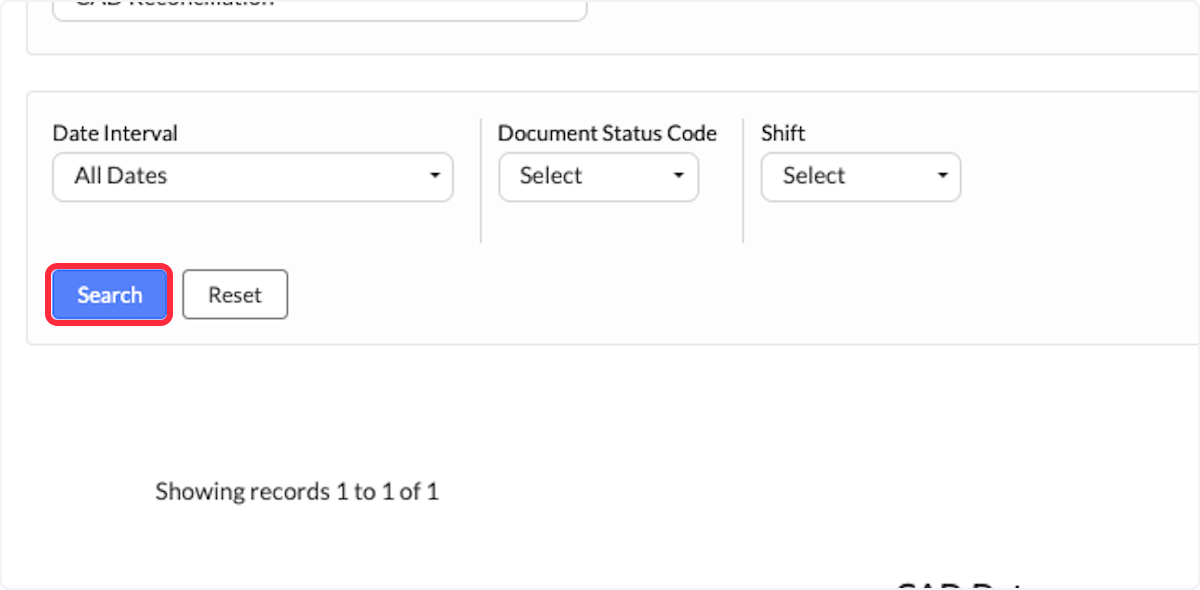
7. Click on Search once parameters have been set.
8. The report is broken down by a section on the left and right.
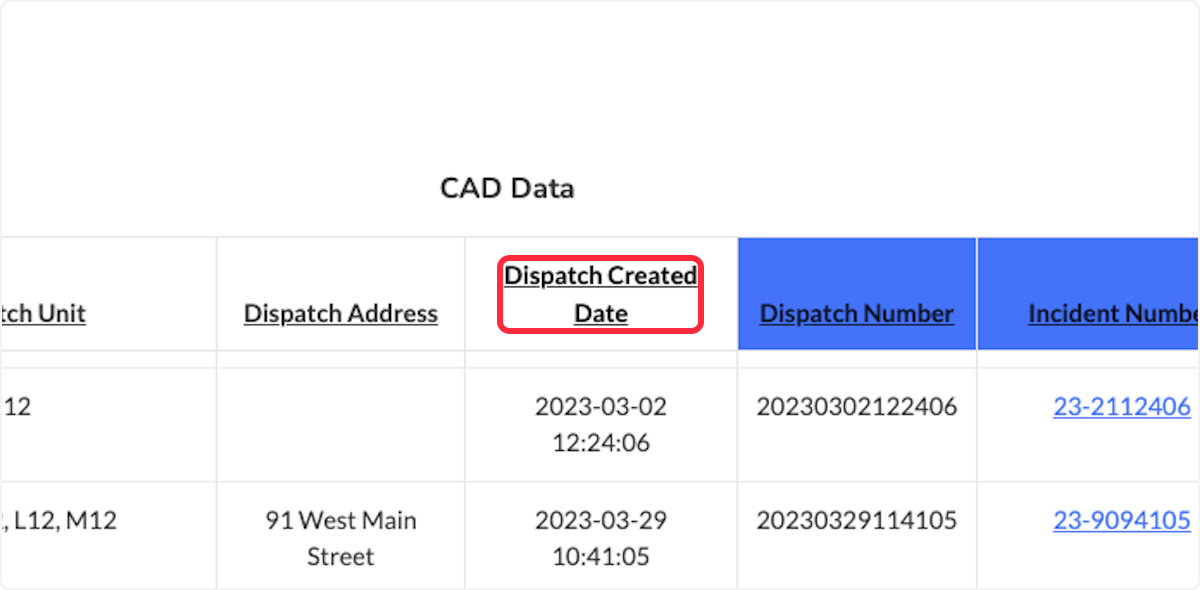
- The section on the left contains CAD information and has a white header.
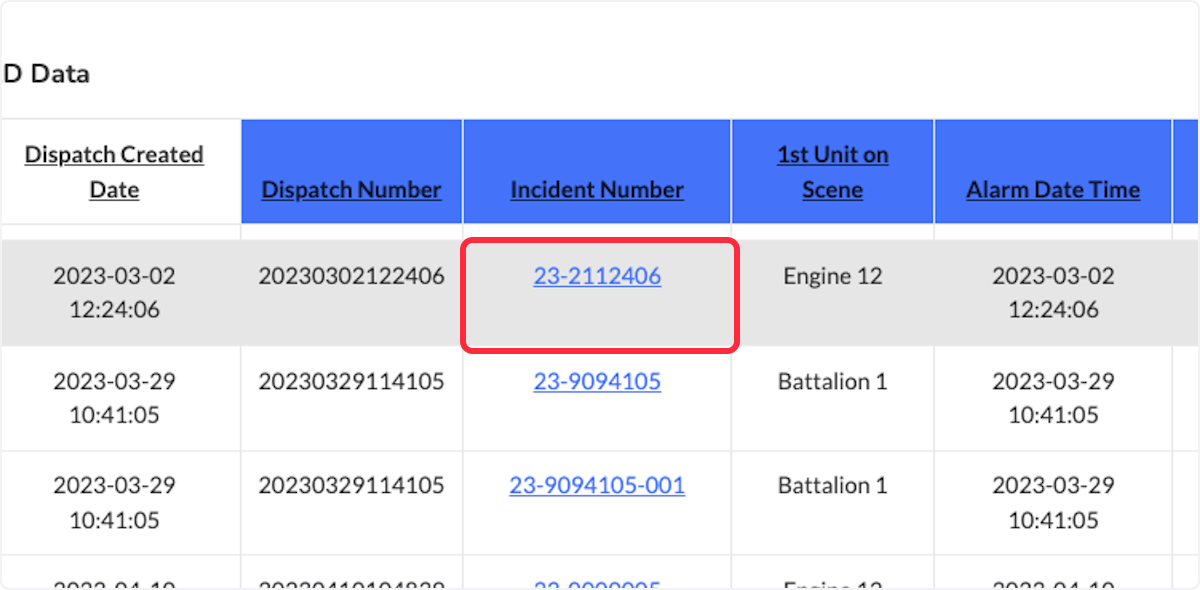
- The Incident Data on the right is signified by the blue header.
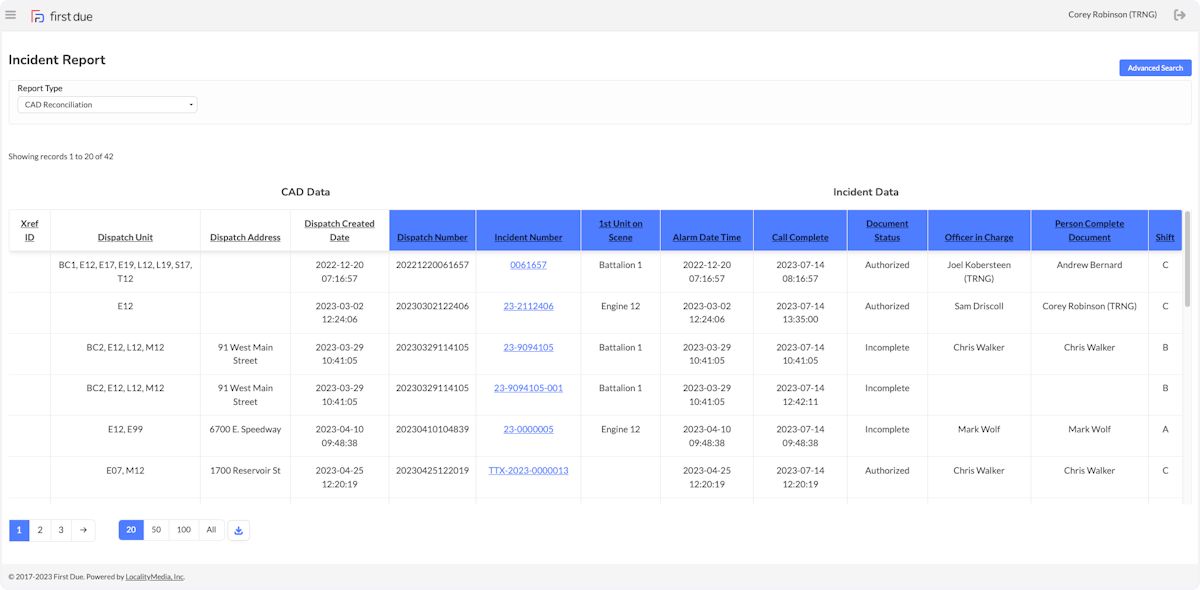
9. Within the grid, an incident number can be selected to view the incident report.
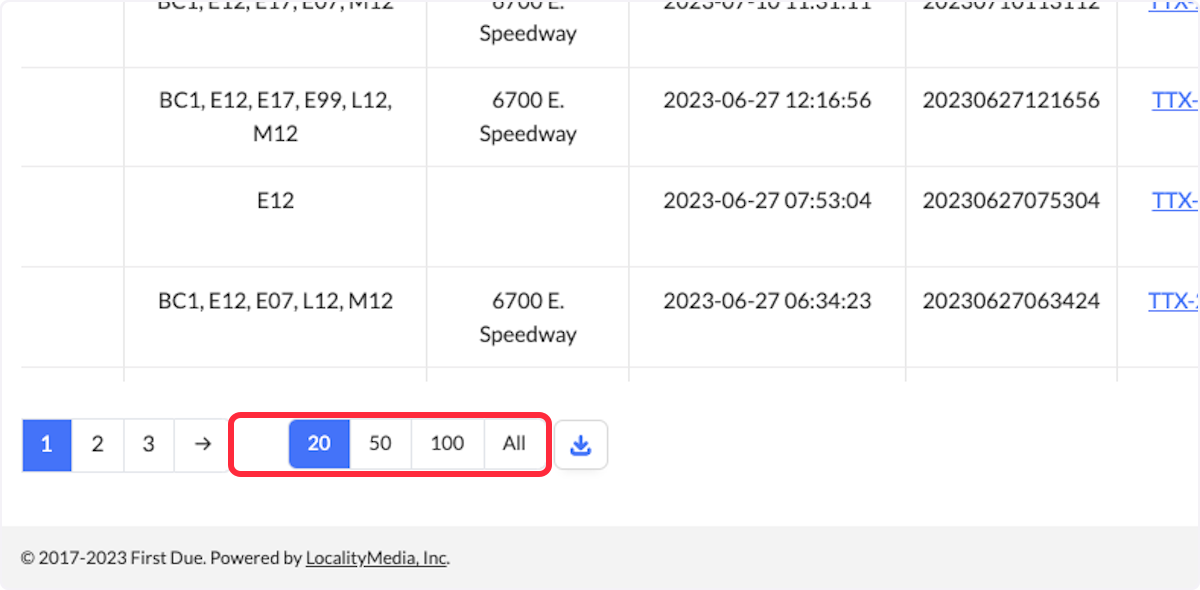
10. Each header can also be selected to sort a column alphanumerically.
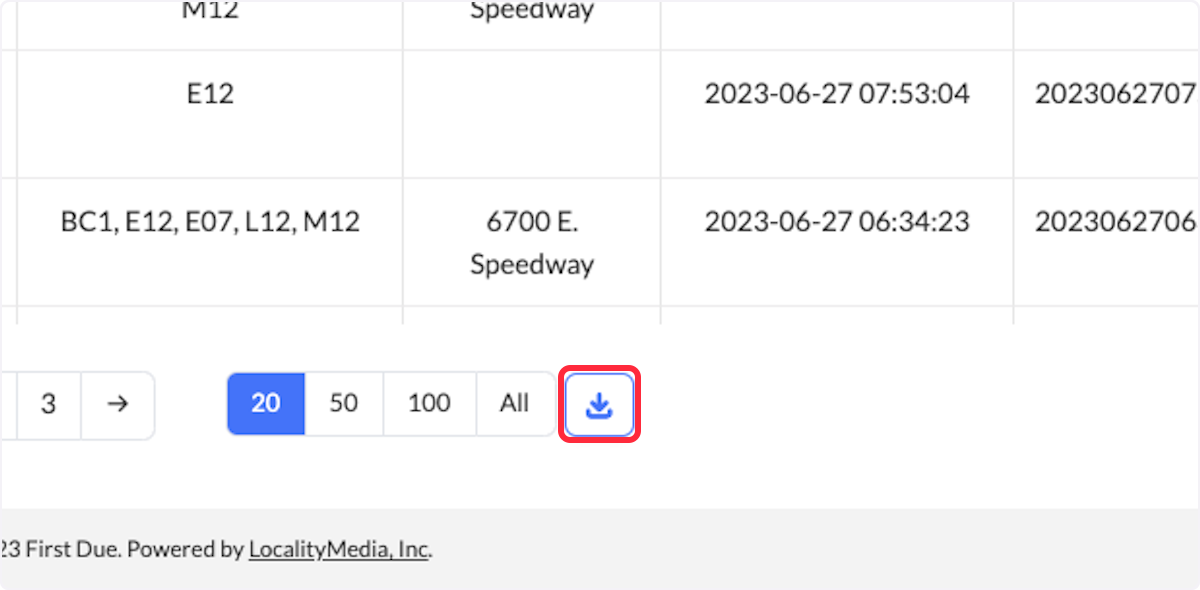
11. The number of rows per page can also be adjusted at the bottom of the screen.
12. Click the Download button to download a .csv version of this report.
Related Articles
Connecting First Due to CAD
Purpose This article reviews the various types of connections that First Due uses when setting up CAD links Importance of Connecting First Due to CAD The following are just a few of the many benefits of enabling First Due to receive dispatches from ...Live Database View / CAD Mirror
Purpose To understand the Live Database View / CAD Mirror process Related Article Understanding the First Due CADLink Connector Description Live database view into a CAD mirror or a copy of CAD's database (read-only). First Due would access via a VPN ...Downloading Multiple CAD Units
Purpose Statement The Multiple CAD Units Download feature enables users to import data from multiple apparatus responses into a single ePCR (Electronic Patient Care Report). This streamlines documentation for incidents involving multiple units, ...Incident Type (CAD to Fire Incident) Mapping Template
Purpose To provide the Incident Type (CAD to Fire Incident) Mapping Template and instructions for use. Overview The Incident Type (CAD to NFIRS) Mapping Template is designed to assist in the auto-population of Fire incident types in your incident ...API Connection
Purpose To explain that First Due supports an API connection Related Article First Due REST API Documentation Description First Due supports CAD IT teams in connecting to First Due with APIs. CAD IT would be responsible for writing code to post to ...